Napkins - Two Ways
Here are the napkins I've been imagining for quite a while:

They feature the Farmdale Blossoms in Teal on one side and Essex linen in putty on the other. These came together pretty quickly.
You need the two fabrics to be squares 2" apart. I pre-washed everything as the linen shrinks more than the cotton and you don't want a wonky napkin after you wash them once. I like to make napkins fat quarter size, but after washing I could only get 17" squares from the farmdale fabric. Since the essex linen is wider, I had no trouble getting 19" squares from it after washing.

Now, turn one side of the larger fabric into the edge of the smaller (should be 1/2") and press the fold. Fold it down another half inch. Repeat for all four sides, don't worry about the corners for now, just make sure the creases extend all the way to the edge of the fabric (you'll have to unfold each side a little to do the next side).

Now, clip the corners, leaving one little box from your crease marks.

Fold the corner down and press.

Fold the sides back down again and press, making sure your corners match up well. Pin the corners in place.


Almost finished! Just topstitch around the napkin, very close to the edge, turning corners with needle down (wow, my machine looks dusty even in poor lighting!).

The second way to make napkins is super fast, but you need a serger to make it really fast. All you do is cut your fabric into squares as large as you can. I used 1.5 yards and got six squares pretty close to 18". I cut all six at once by folding my fabric carefully. I did not bother prewashing, since it uses just one piece of fabric and the crispness of fabric right off the bolt helps with cutting.

Now, if you have a serger, set it up for a rolled hem. For me, you take out the left needle, so there are only three threads. You also set the stitch length to 2.75, the stitch selector goes forward, and the lower looper tension needs to be very high.

This allows the serger to roll the hem around the little needle and secure it closed. To turn a corner, just stop, needle down, about 1/8" from the edge and turn your fabric.


and from the back:
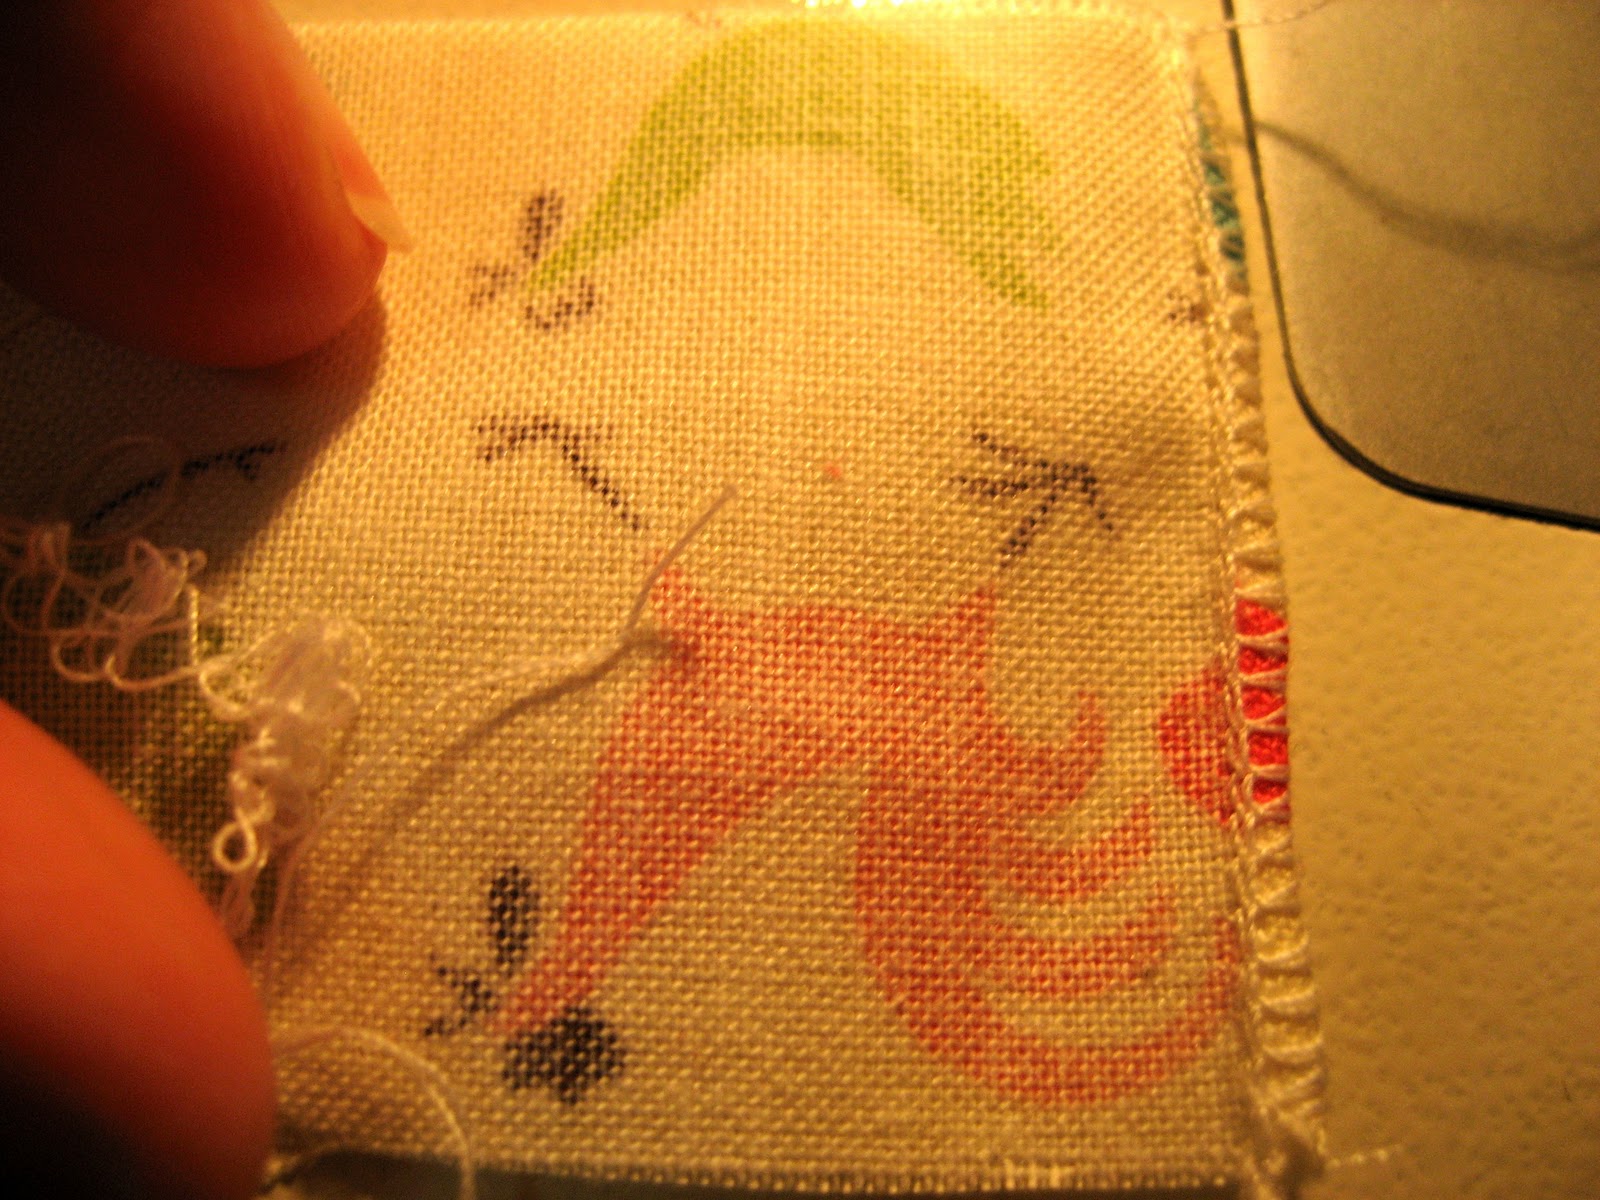
Now, you are finished except for that last corner. You'll need to pull the threads and unravel the chain stitch a little, thread a hand needle & tuck it back in the seam (I'm waiting to finish all six before I do that part).

Okay, so if you don't have a serger you will just be folding your edges in 1/4 inch and then fold under another 1/4 inch and topstitch around the edges. Not quite as fast, but still a pretty easy project.
Oh, and just in case you were going to buy your kids a expensive toy, consider a laundry basket in stead - hours of entertainment!


I REALLY need to get my serger out of the box!
ReplyDeleteyes you do! Mine is older, but real industrial quality. When it's agreeing with me it is a workhouse, when we are fighting it's a bear. We're learning to play nicely & it is definitely amazing!
ReplyDelete