Fussy Foldover Basket Tutorial

This tutorial was supposed to be for a basket with a fussy cut pocket, but when my first try seemed a bit tall, I tried folding it over. I liked the look and it gave it a lot more stability. So, the Fussy Foldover Basket was born!
My kids seem to have so many trinkets, and boy, do they love a pocket! This seemed like the perfect solution for little treasures.
You will need: 2 coordinating Fat Quarters (you'll have quite a bit leftover), a 4" or so fussy cut scrap and another 4" square to line the pocket with, a fat quarter of Fusible Fleece (or similar interfacing) and coordinating thread.
*1/4" seams used throughout tutorial
Step 1: Cutting. Cut 2 rectangles each from main fabric, lining fabric & fusible fleece. If you look at my top picture all baskets are made from a 10" wide rectangelle, the shortest basket with the princess is 9" tall, the Owl & Pussycat is 9.5" tall & cowgirl is 10" tall (rectangle size, not finished size).
Now cut a 2.5" square from the bottom of each side of all 6 pieces. You can trim the fleece a little bit so the seams are not too bulky, but it is fine either way.
Fuse your fleece pieces to the back of each main basket piece.

Step 2: Make the pocket. Fussy cut a square for the front of the pocket, mine averaged between 3.5-4", and a lining square - doesn't matter what fabric you won't really see it.


Pin the pocket squares right sides together and sew all the way around the pocket, leaving an opening on one of the sides, about 2" for turning. See how my opening has a line of sewing extending out? Little trick from Oliver + S patterns that makes the opening practically close itself. Clip the corners, turn, poking out corners with blunt chopstick or turning tool, and press.

Step 4: Sew Main Basket pieces & lining. Place main basket pieces right sides together and sew the bottom and sides together.
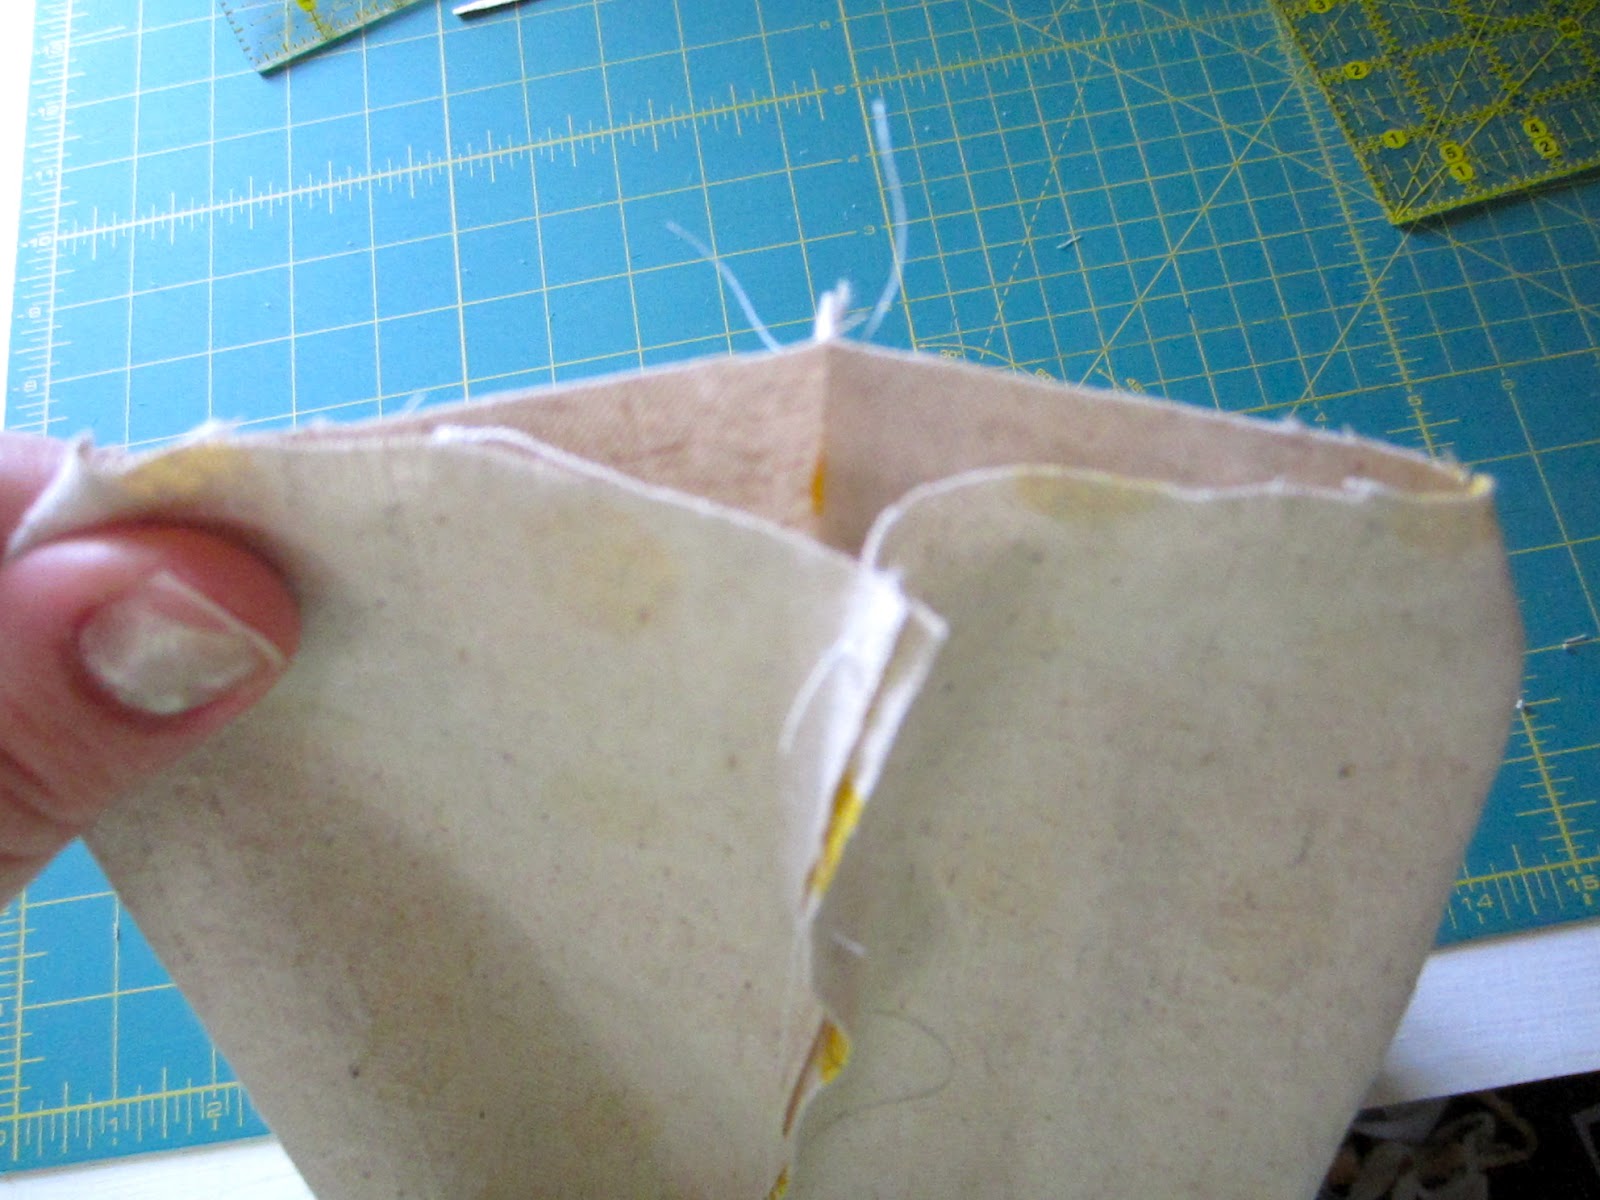
Step 5: Sew the corners by pinching in at the cutout square to match the side seam with bottom seam and sew across.
Repeat steps 4 & 5 with lining fabric, but leave a 3" opening in the bottom seam of the lining, entering & exiting opening like in the pocket, to make for easier turning.
Step 6: Turn lining right side out and place inside main basket (still wrong side out). Pin at seams and sew together at the top, all the way around.

Step 7: Pull everything through the opening in the lining, make sure corners are smooth by using your fingers in the opening, and then sew the opening closed.

Step 7: Press the basket with on the end of your ironing board. Once it looks nice and smooth, turn the bottom down 1/2-1". Topstitch this down, about 1/8" from edge.


If you don't feel like making one, I listed these three in my etsy shop. Thanks!
Oh, and I'm linking up with Lawson & Lottie today:
*Please use this tutorial for personal use only and I'd love to see your creations, I finally started the mon petit lyons flickr group and I'd love to see anything you have made from my tutorials!


Thanks for the tutorial!! I am going to make one of these to use as a scrap basket on my sewing table.
ReplyDeleteAnther great thing to try. Would make a god container for a gift.
ReplyDelete