Pretty Perfect Pinwheels {Tutorial for My Small World QAL}
If you're following along with the My Small World QAL from Jen Kingwell's amazing pattern, you've had to make a lot of teeny, tiny pinwheels! These can be really, really fun and addictive to make. Here's how I've been making mine.
*Makes 1 2.5" Pinwheel (2" finished)*
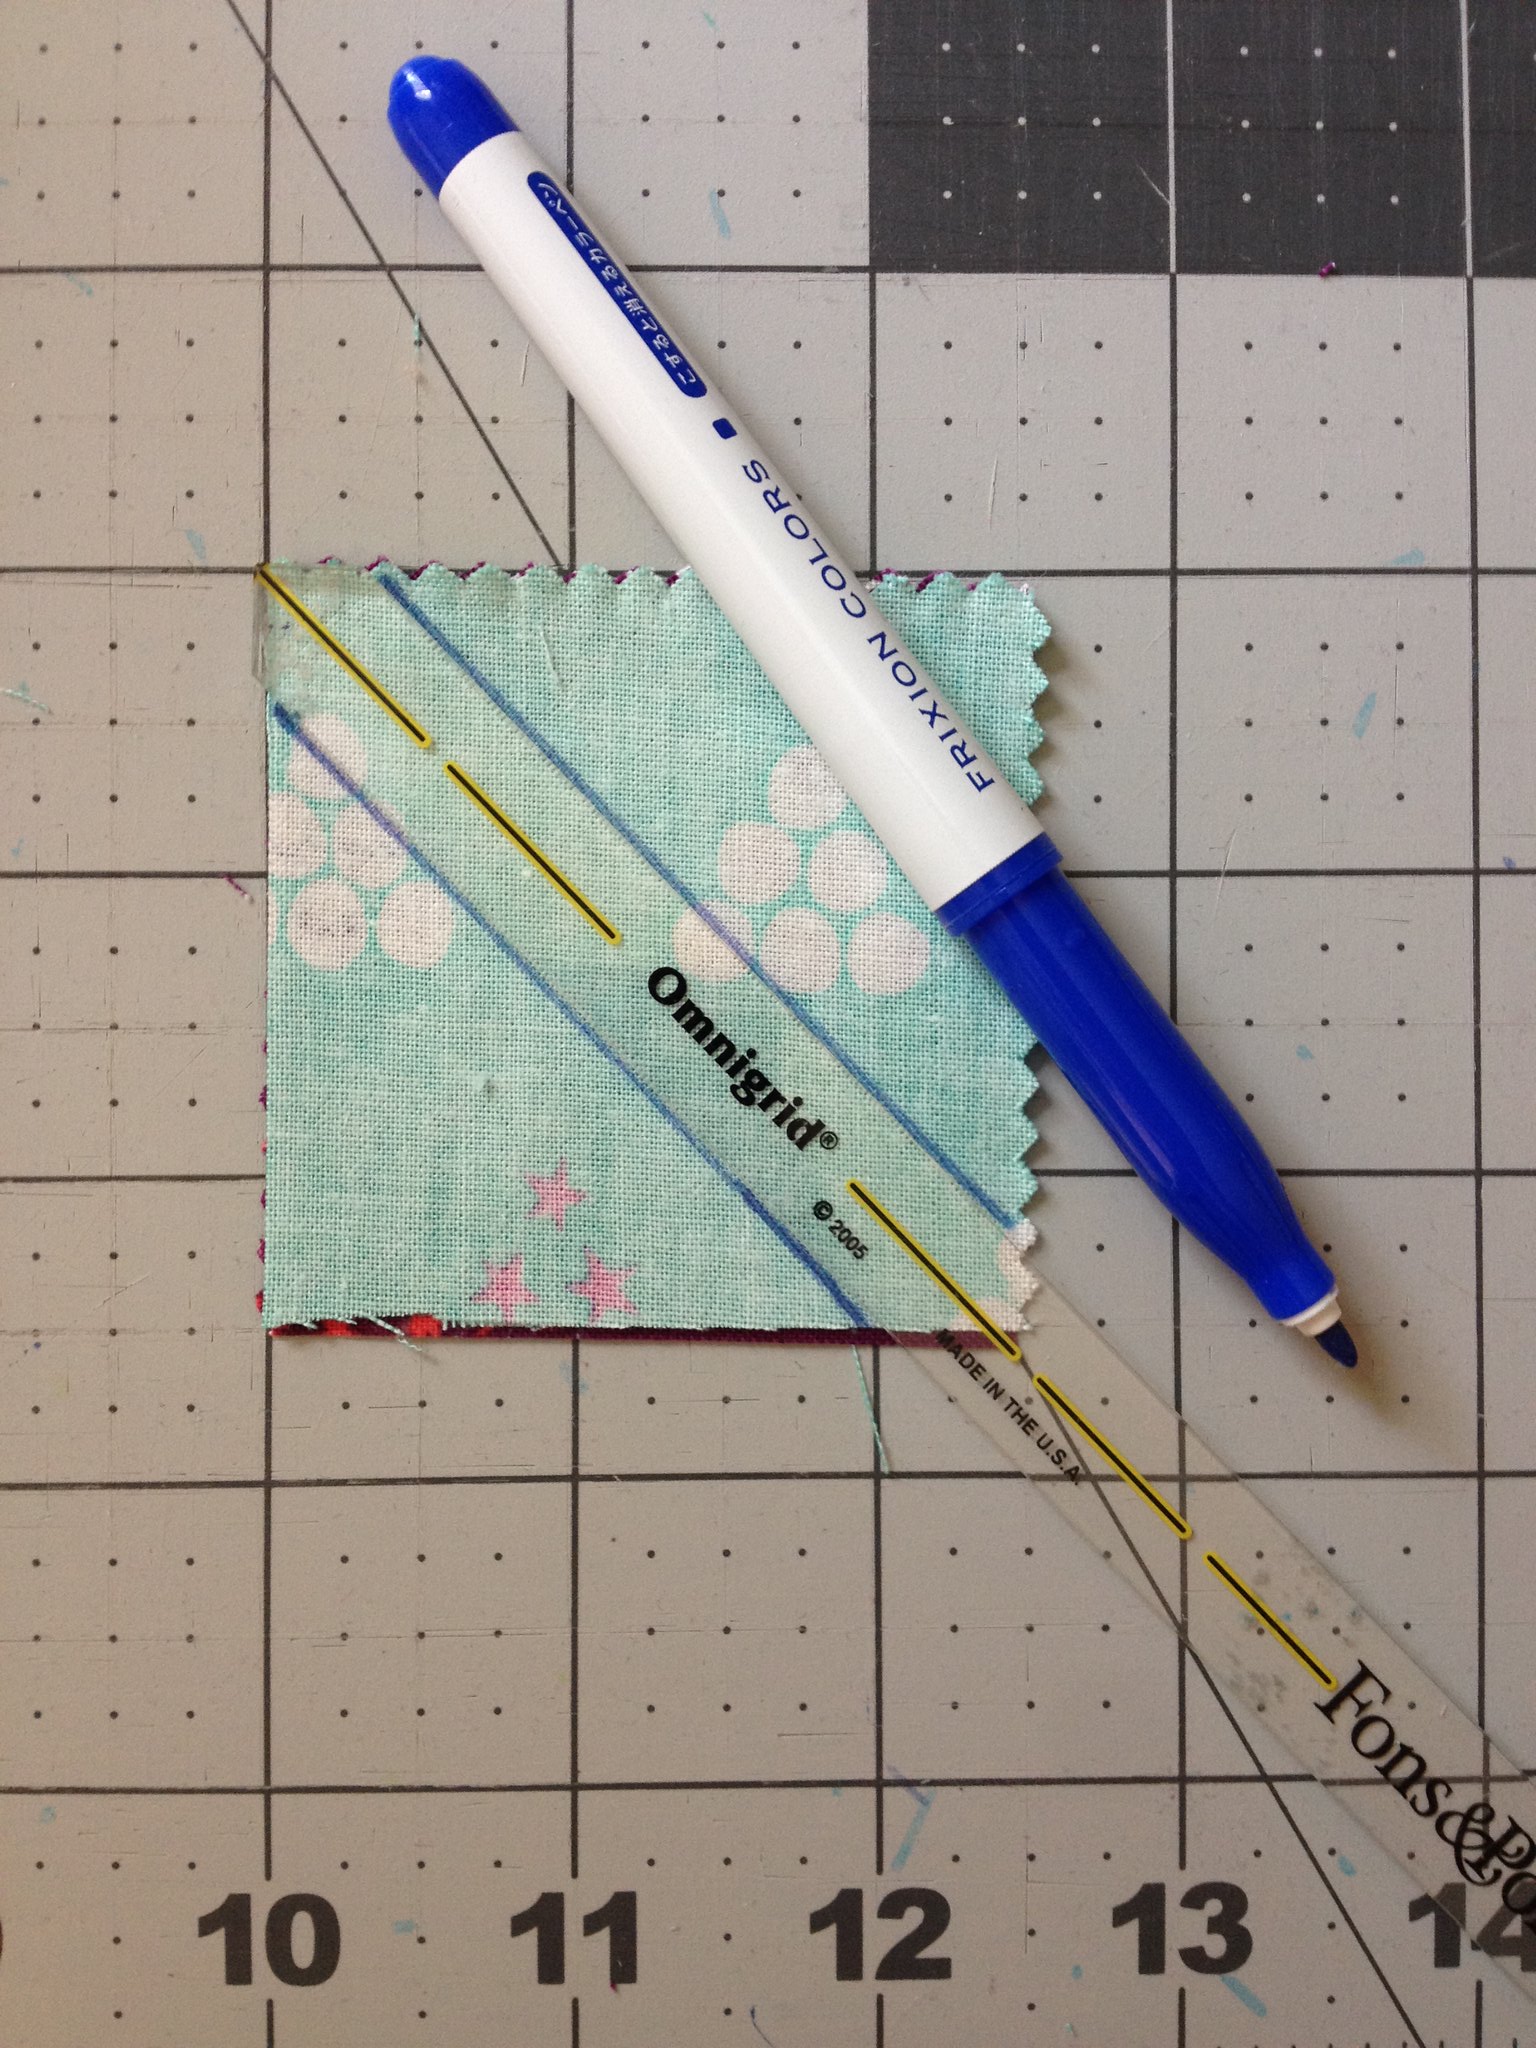
First I cut (2) 2.5" squares from 2 fabrics. You can technically use smaller, 2" squares, but I tend to cut scraps into 2.5" squares so I have them available, and you have more room for fussy cutting.
I make two sets of the squares with right sides facing and then I mark on the diagonal with this awesome ruler from Fons & Porter for Omnigrid that I got at JoAnn's. I make my marks with a Pilot Frixion marker. I know people have had problems with these, but this isn't a mark you will see later if the ink comes back.
Now you simply sew on each diagonal line and cut the block down the middle.
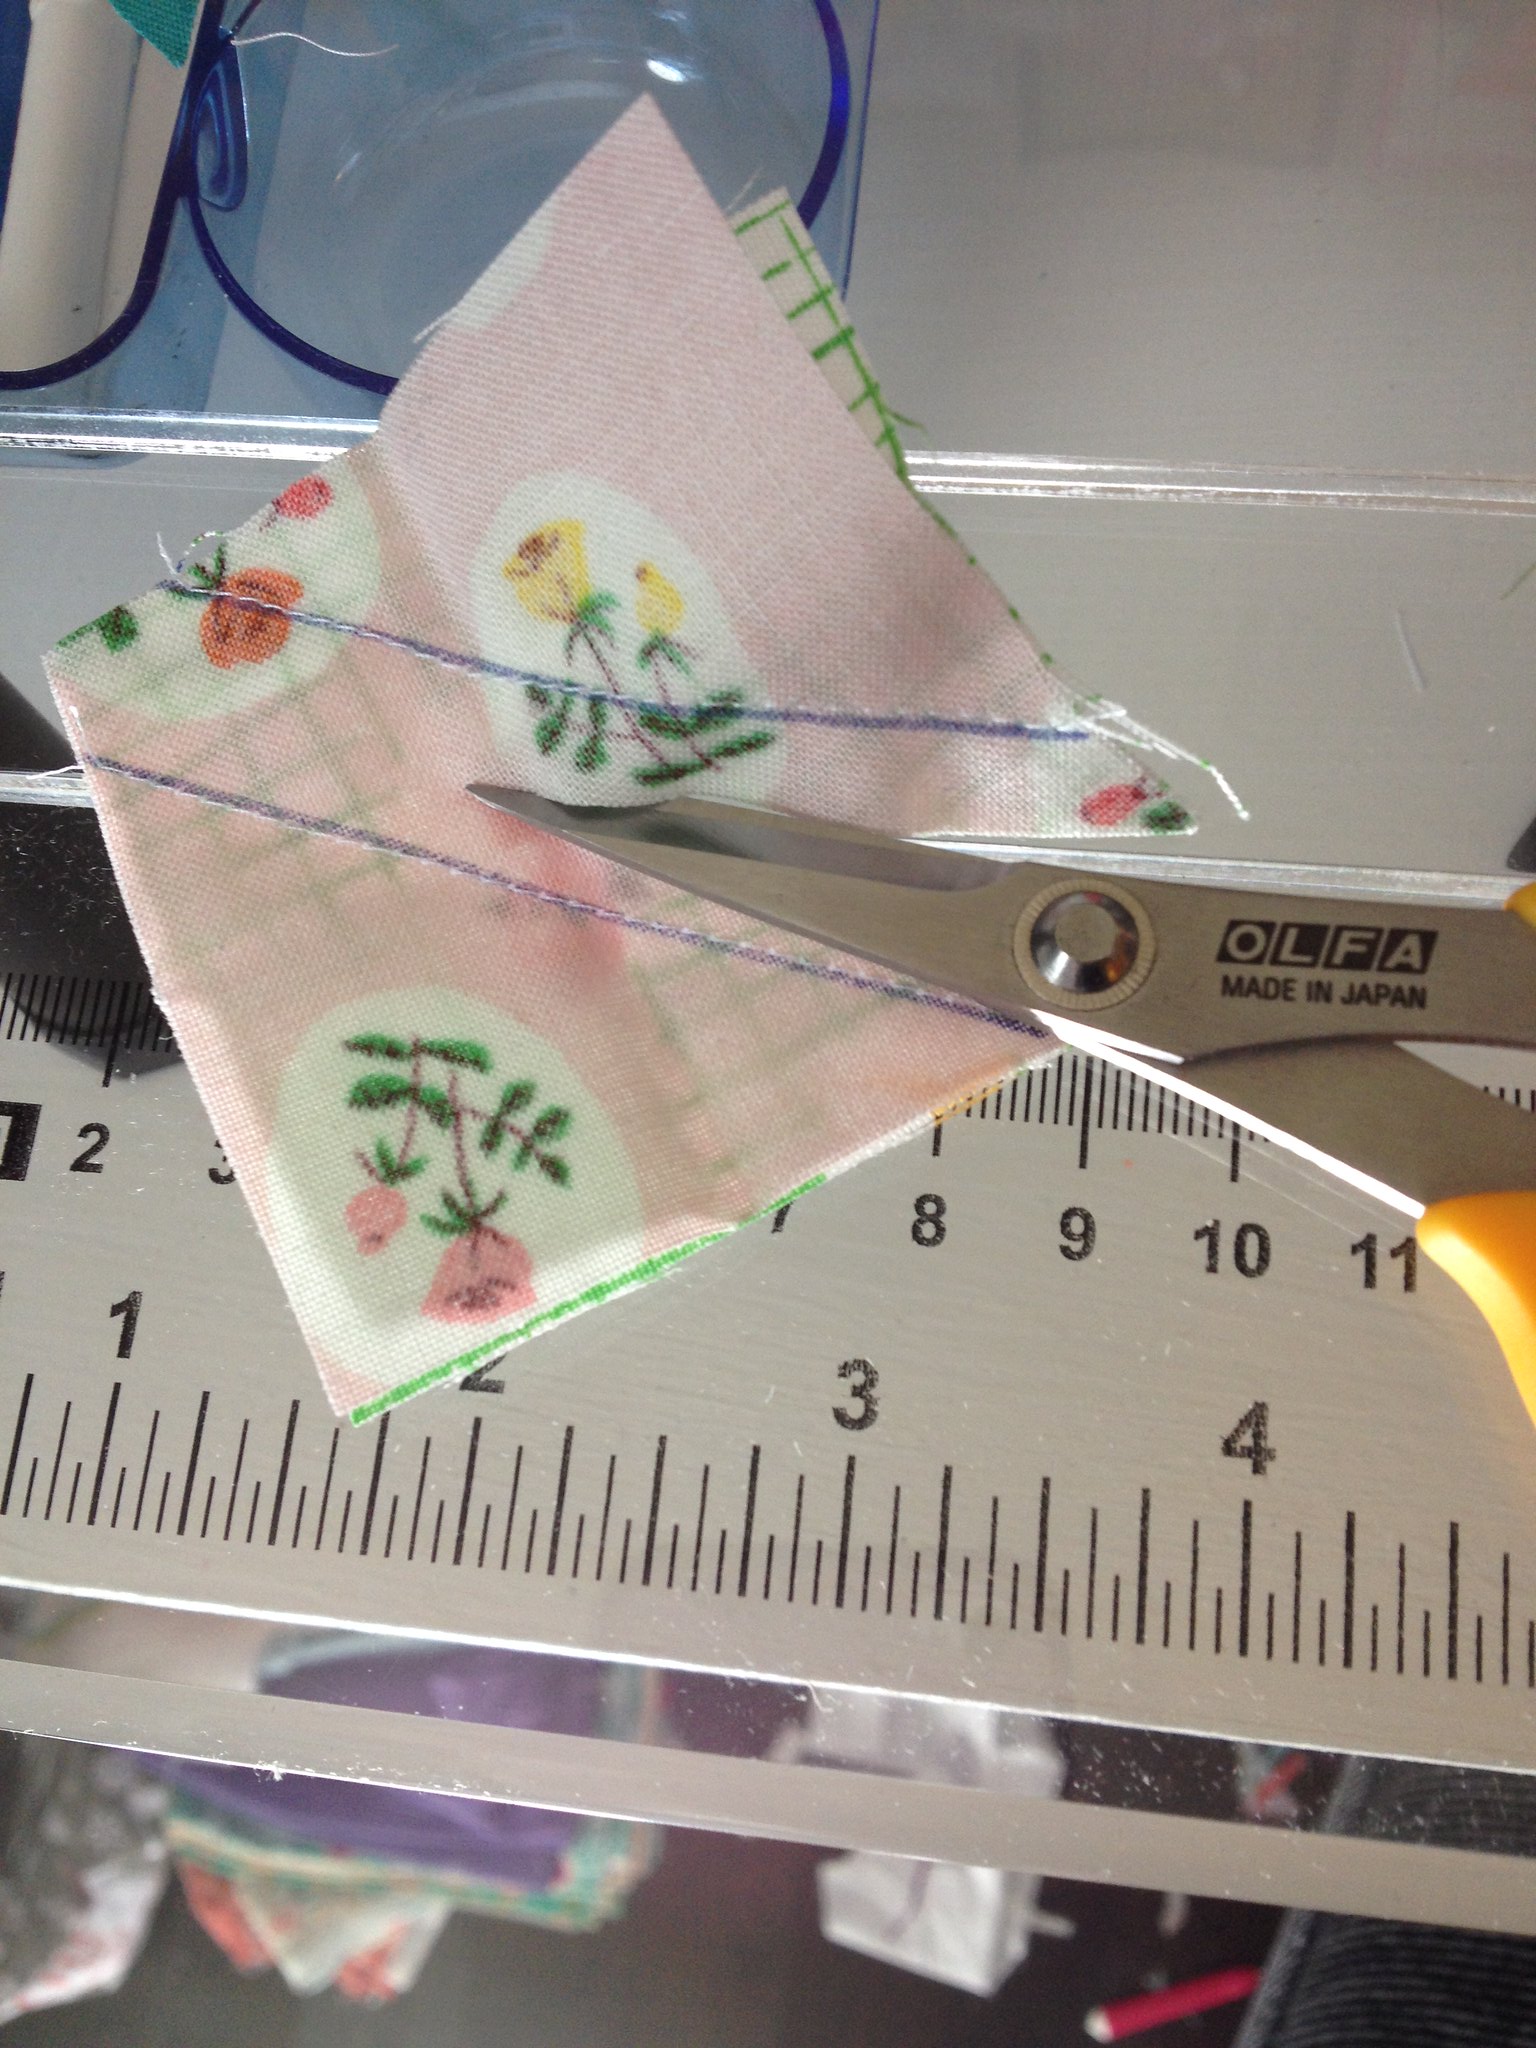
Press with seams going toward the darker side.
*Makes 1 2.5" Pinwheel (2" finished)*
First I cut (2) 2.5" squares from 2 fabrics. You can technically use smaller, 2" squares, but I tend to cut scraps into 2.5" squares so I have them available, and you have more room for fussy cutting.
I make two sets of the squares with right sides facing and then I mark on the diagonal with this awesome ruler from Fons & Porter for Omnigrid that I got at JoAnn's. I make my marks with a Pilot Frixion marker. I know people have had problems with these, but this isn't a mark you will see later if the ink comes back.
Now you simply sew on each diagonal line and cut the block down the middle.
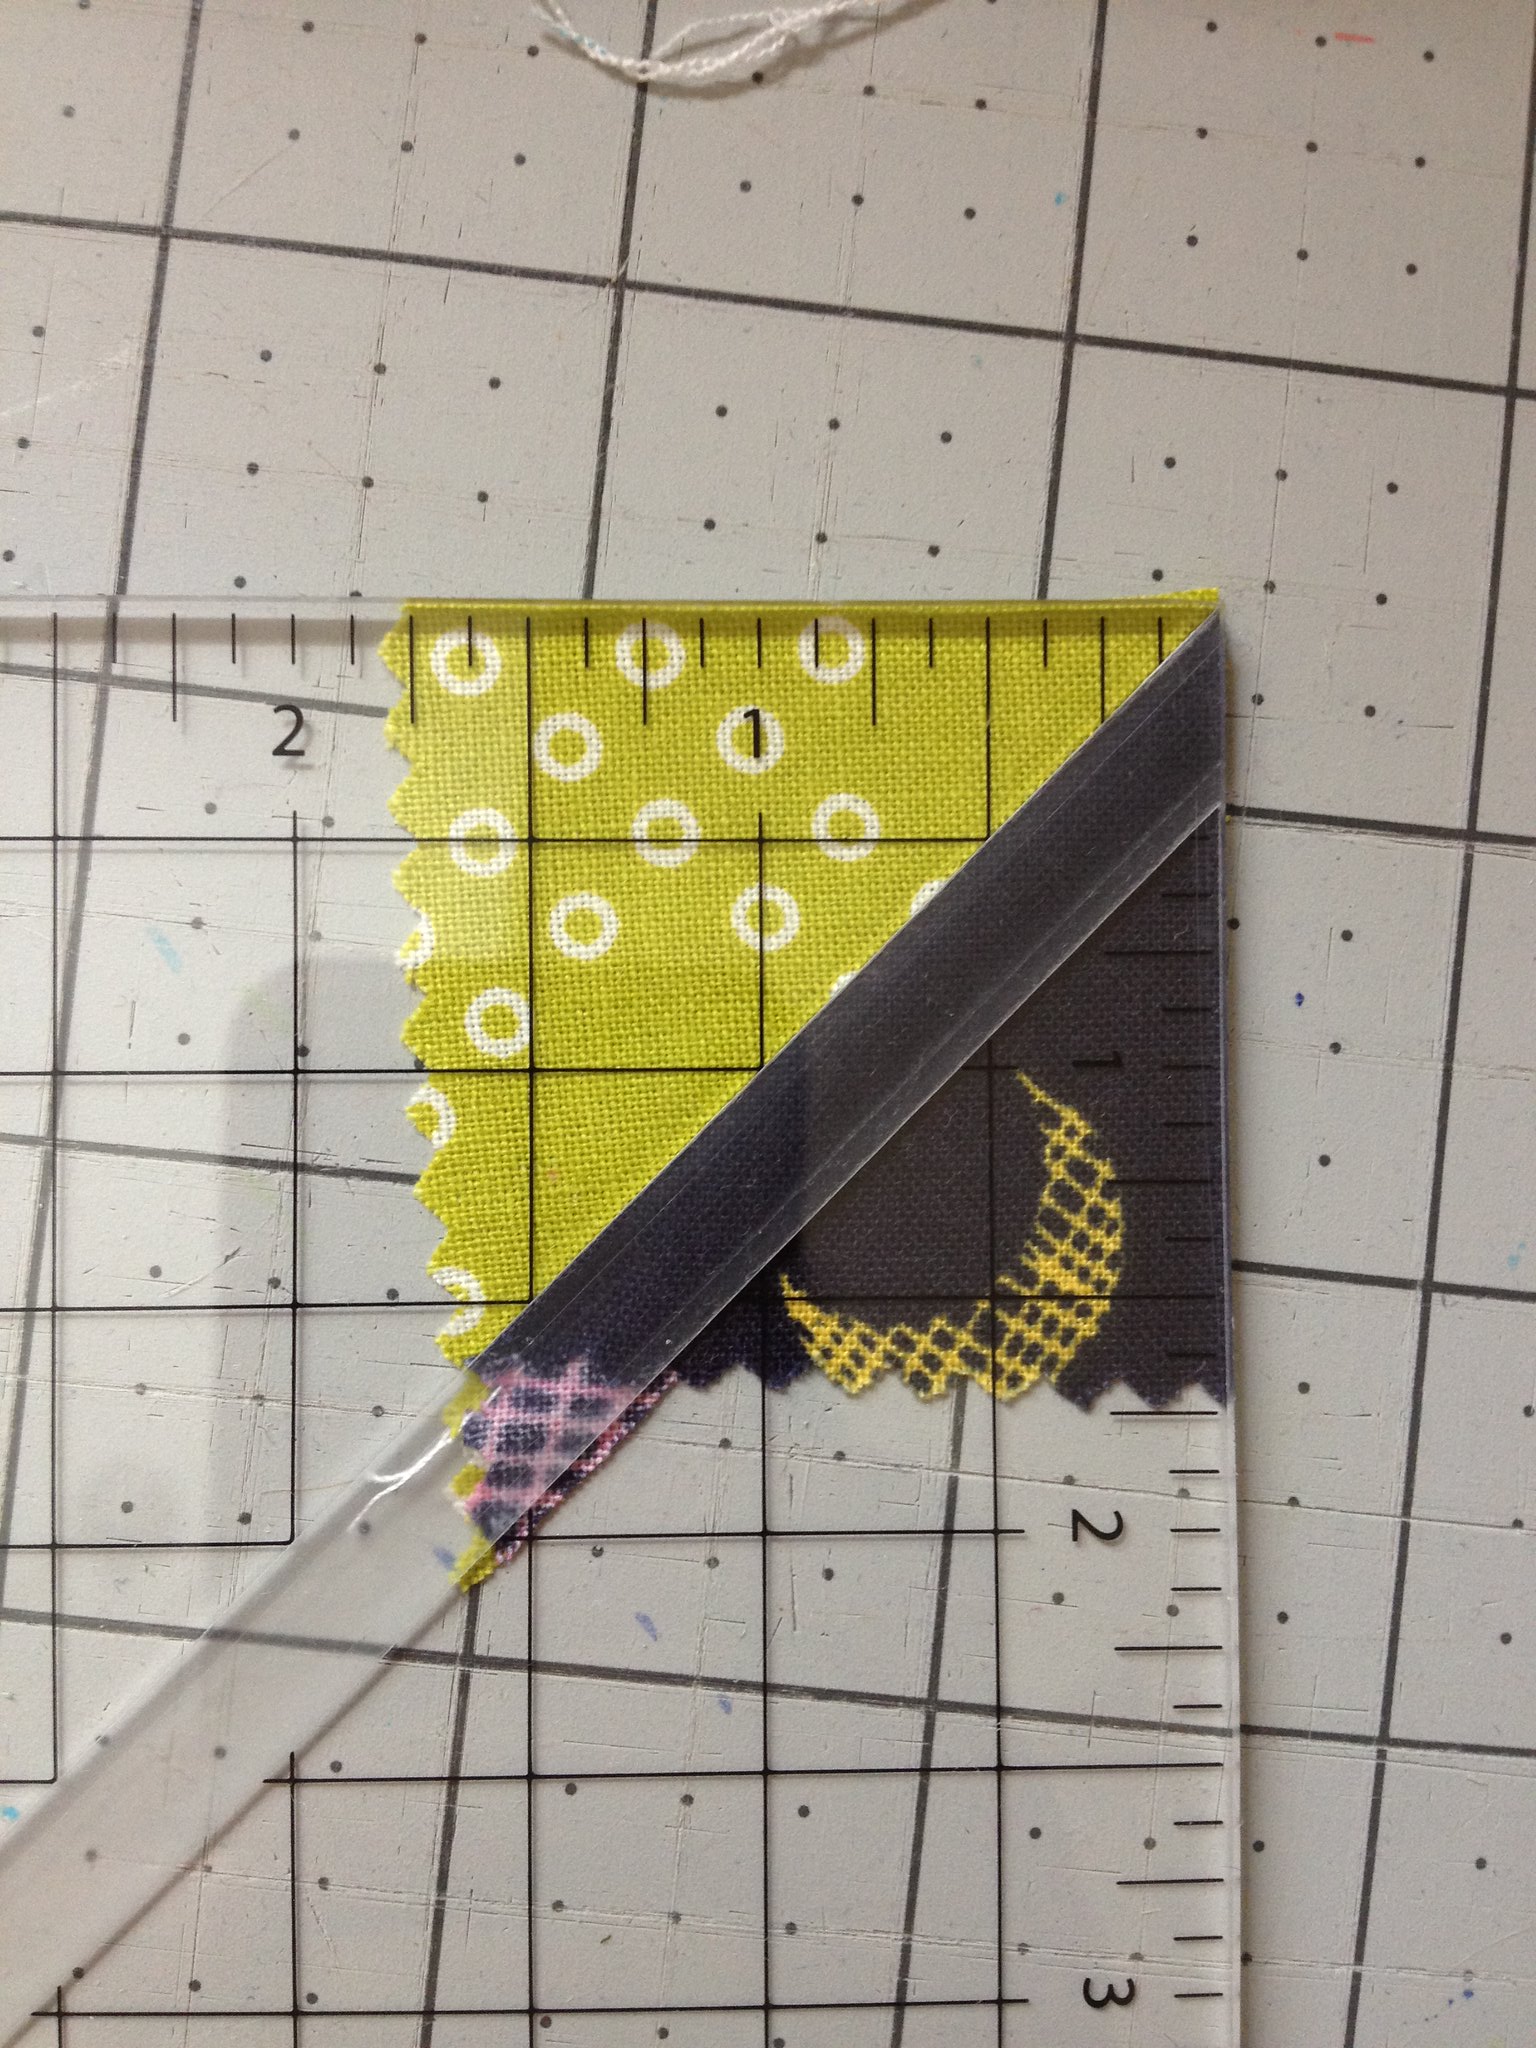
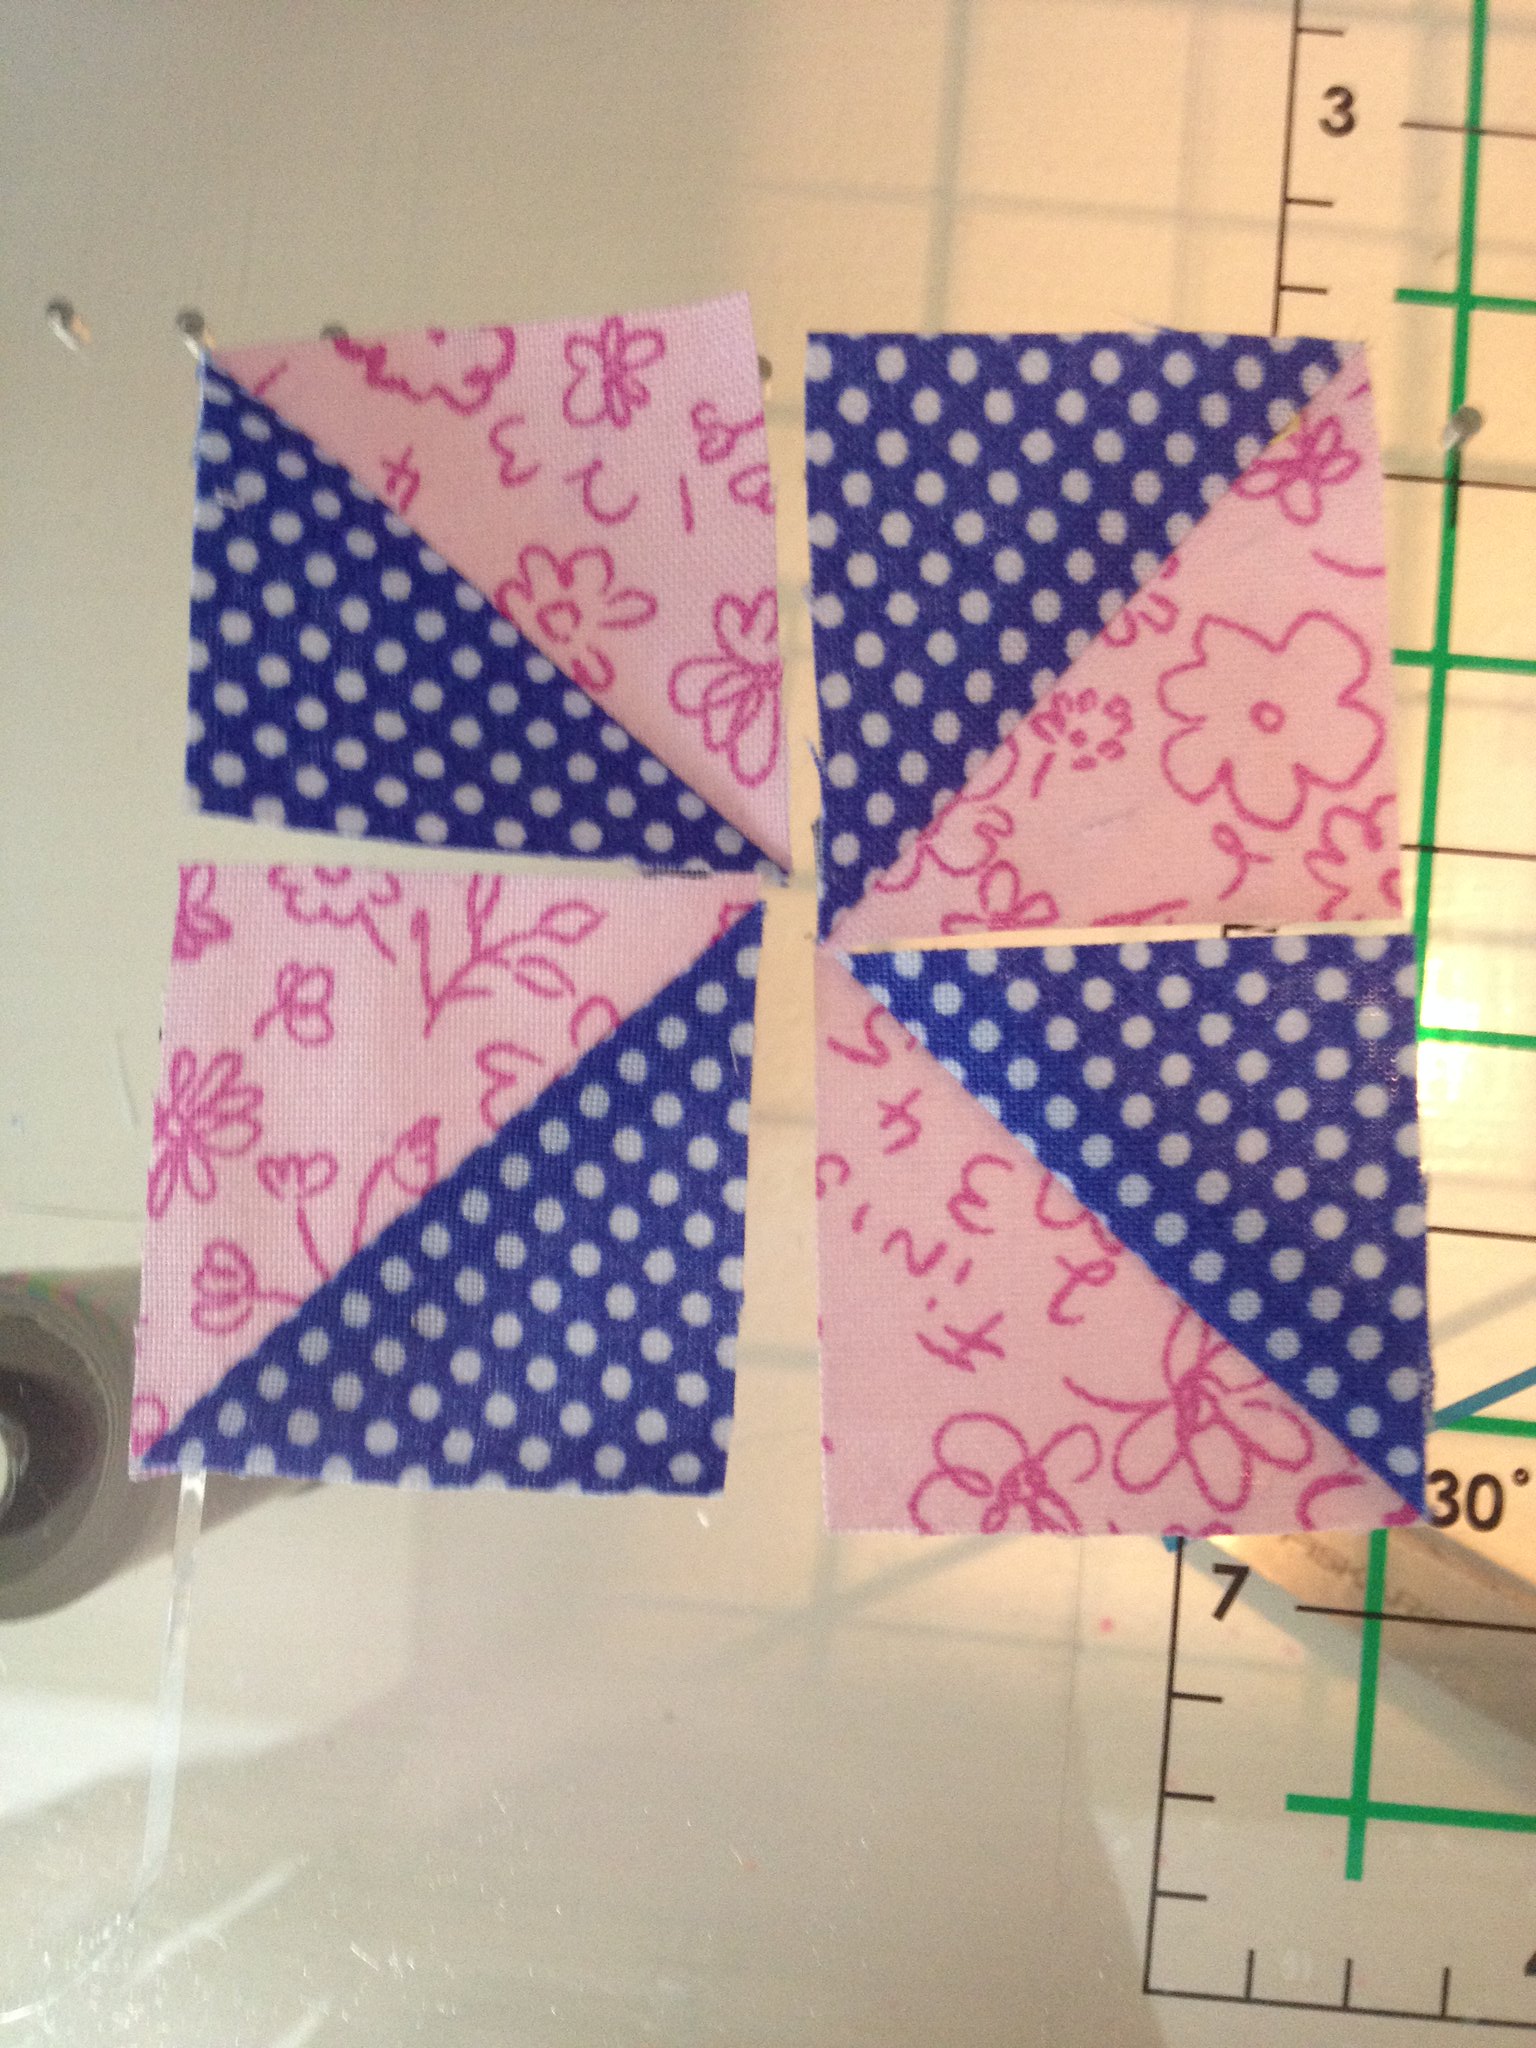
Now I get out my next favorite tool, the trusty bloc loc!
The block loc locks into your fabric with the ridge on the diagonal. You simply trim the top and right and then flip it around to get the other two sides at 1.5" A rotating cutting mat makes this step even faster if you are making more than a few. Repeat for all of your HST blocks.
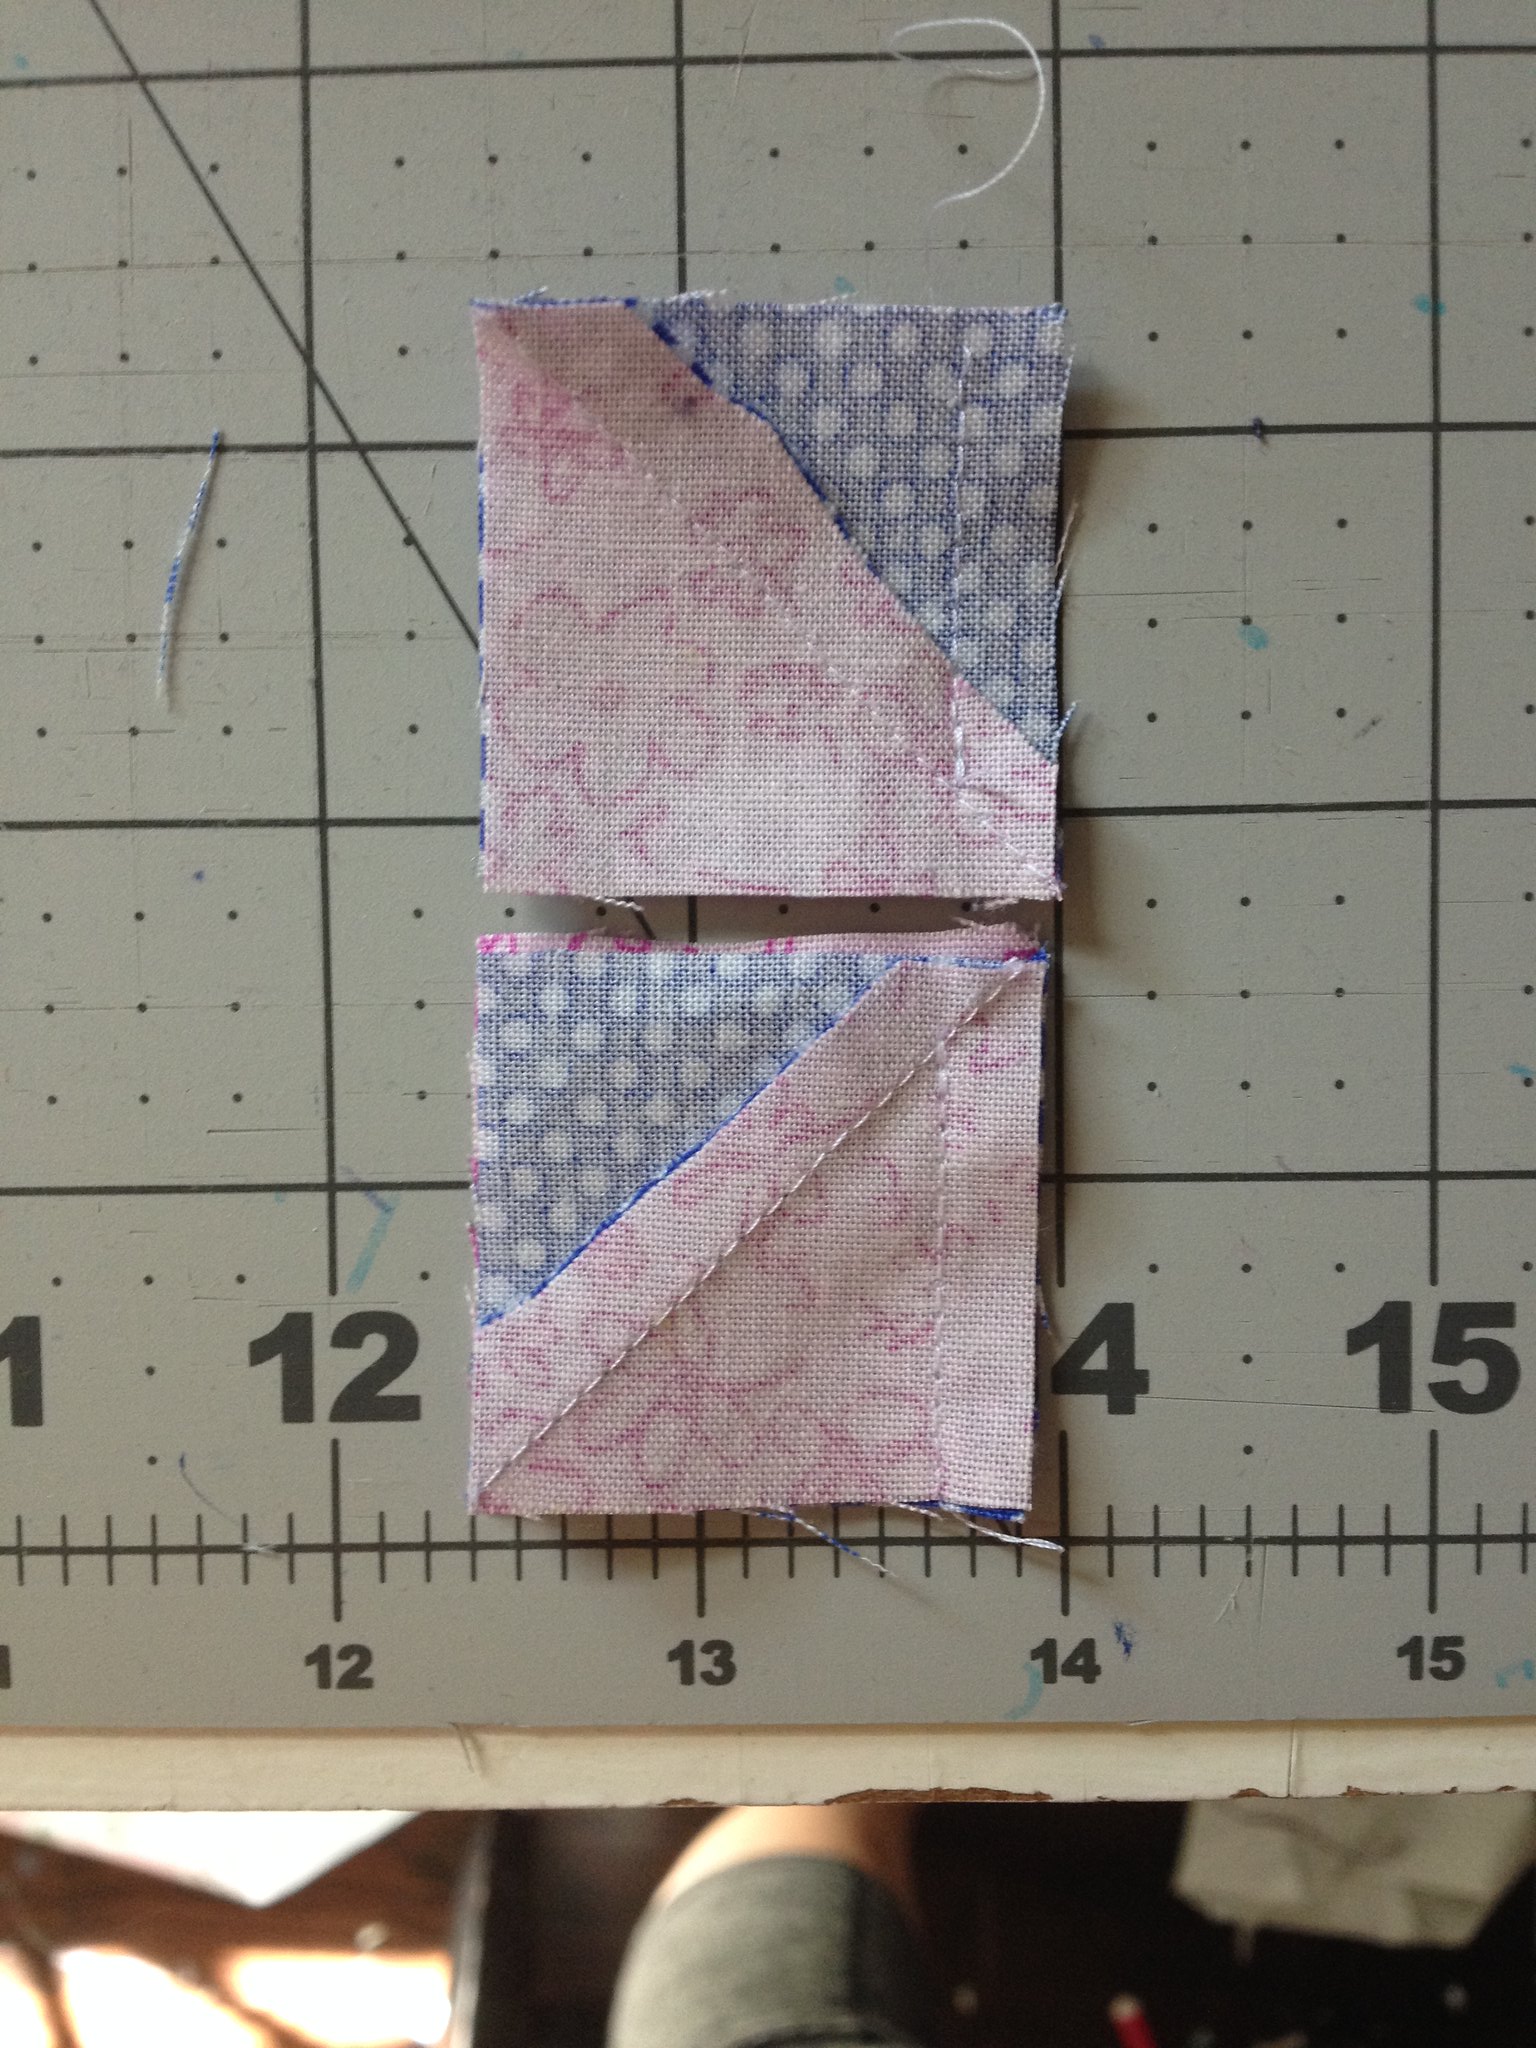
Now arrange your four pieces of the pinwheel. The nice thing about having the seams going toward the darker edges is that they nest nicely when you pair up squares. Here's the tricky part, you want to leave 1/4" of your seam open where they will join in the center. Simply begin sewing your top pair of blocks as usual and then stop, needle down when you reach the 1/4" mark before the bottom and back tack, no need to mark it's right where the diagonal seam line is. On the bottom pair of blocks, you start at this point and sew all the way to the bottom.
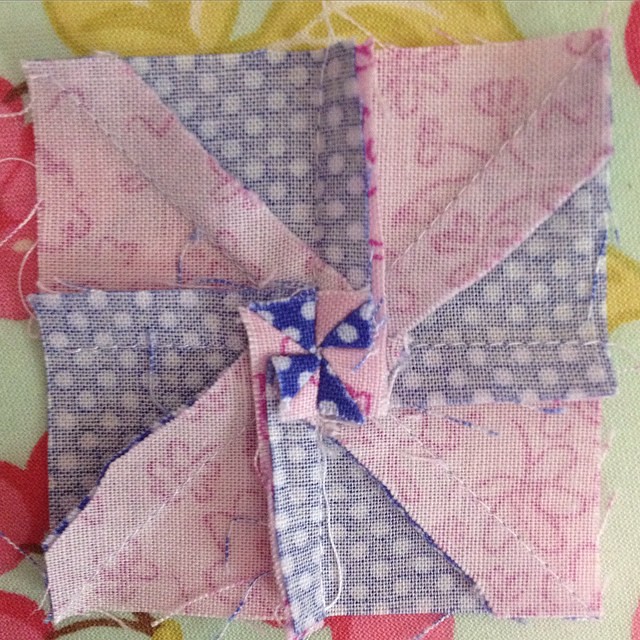
Finger press the top seams going to the right and the bottom seams going to the left and then sew all the way across to join them. When you press them with your iron you just move it in a circular motion so the seams open like so:
This spun seam really reduces the bulk you would get in the center if you pressed seams open or just to one side. Flat is good!
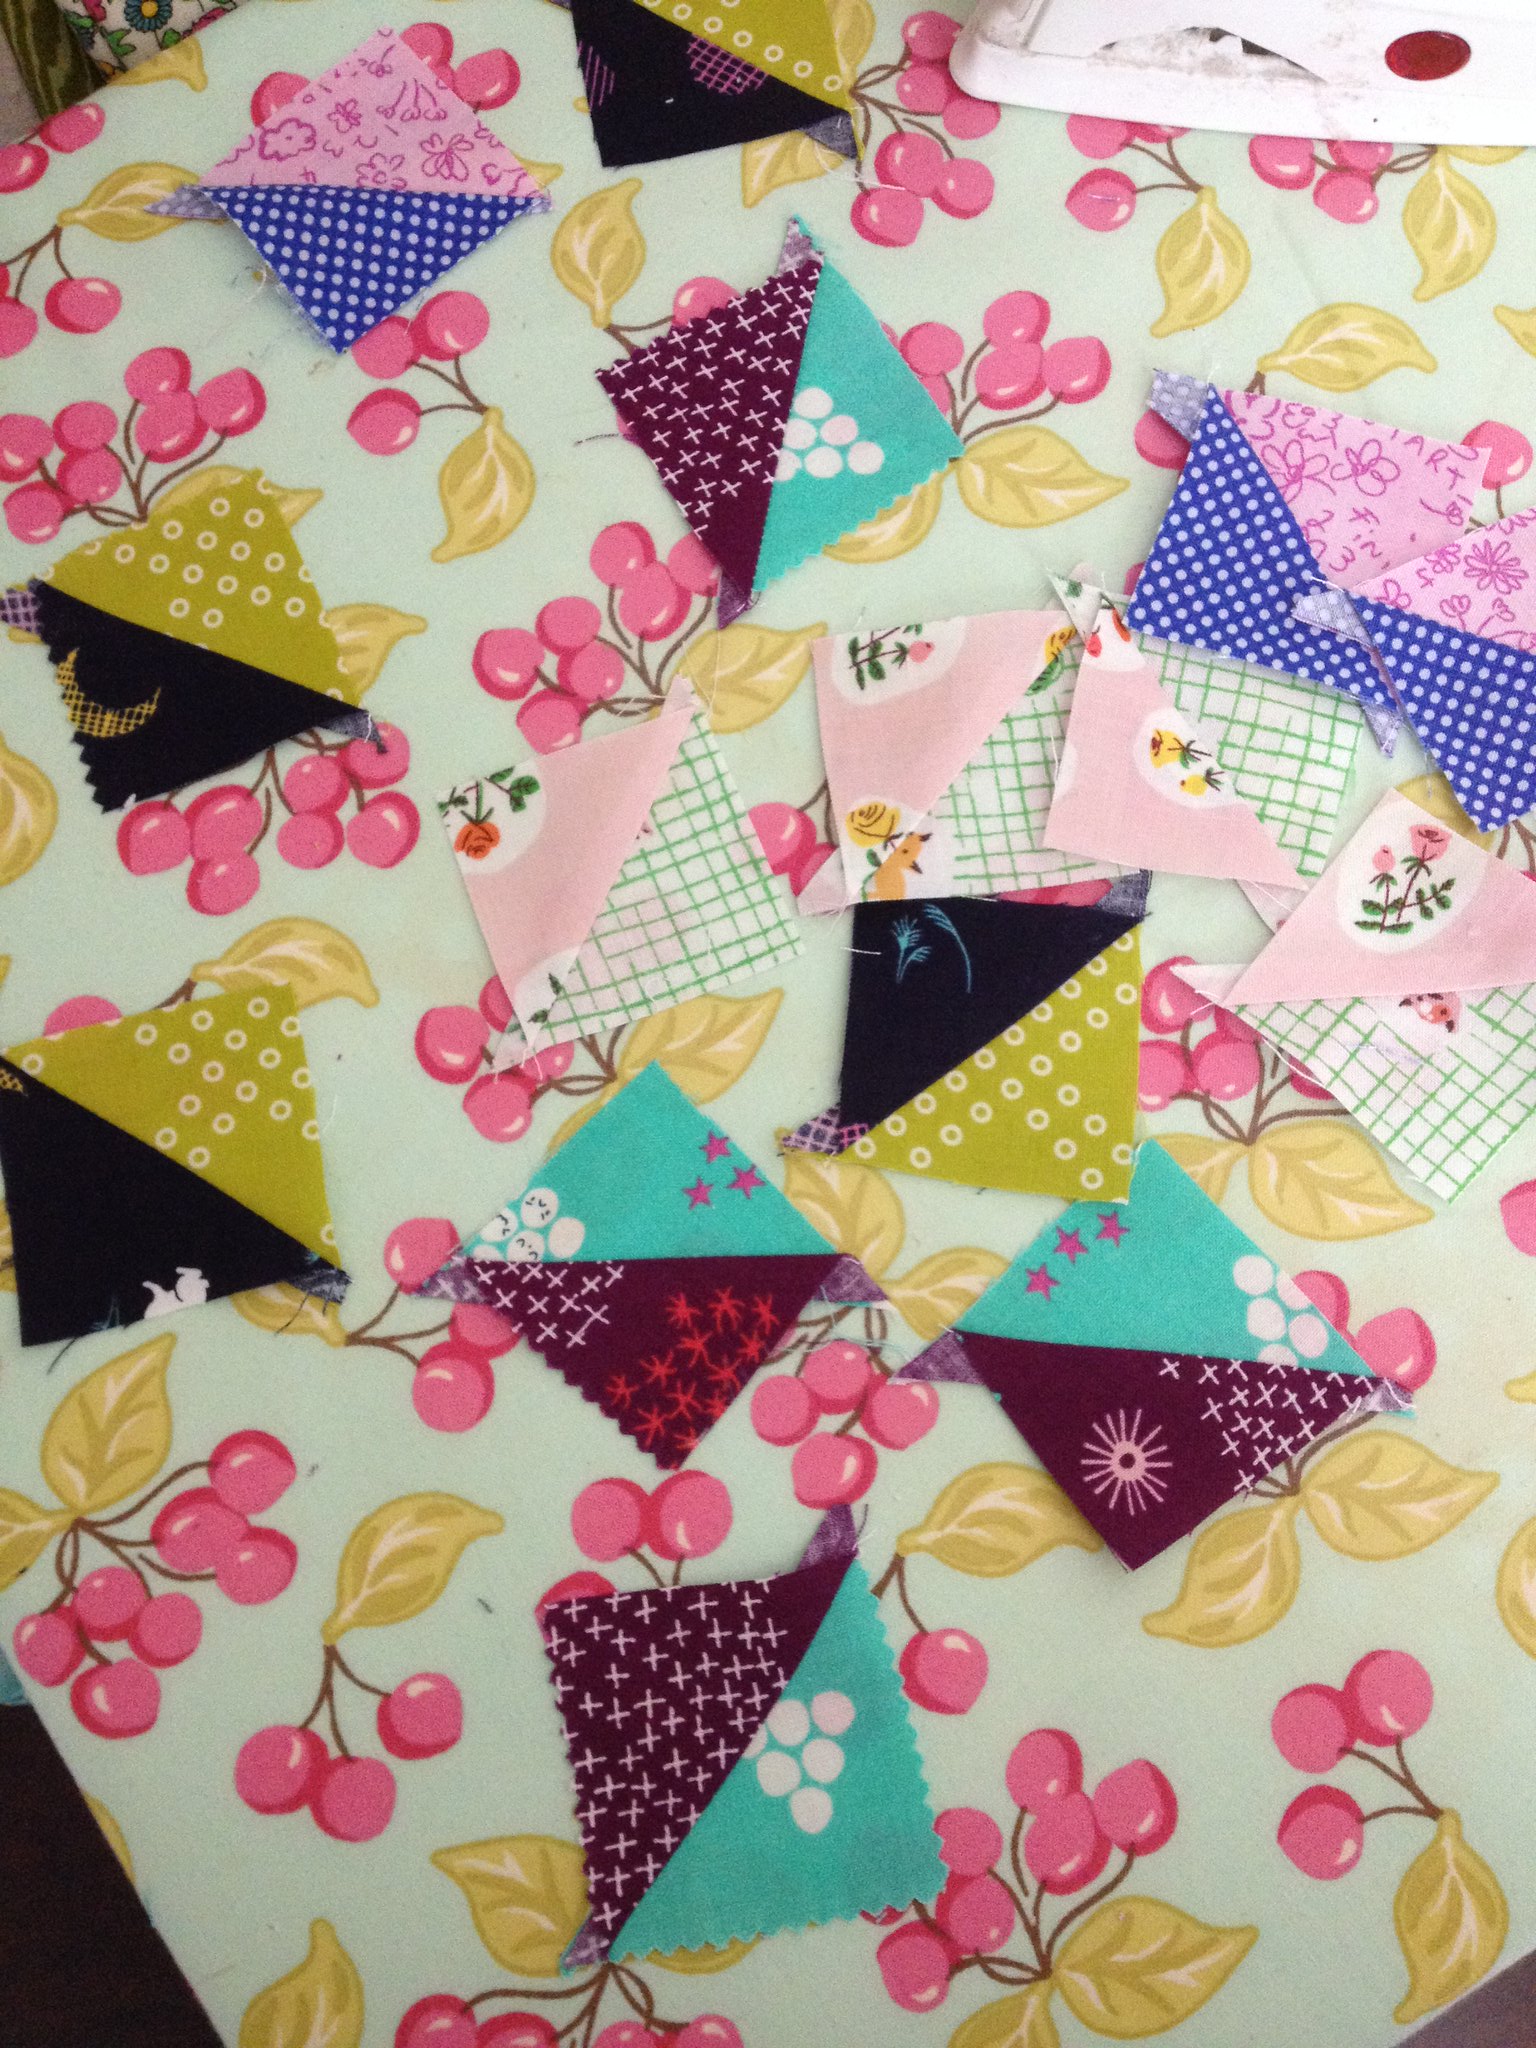
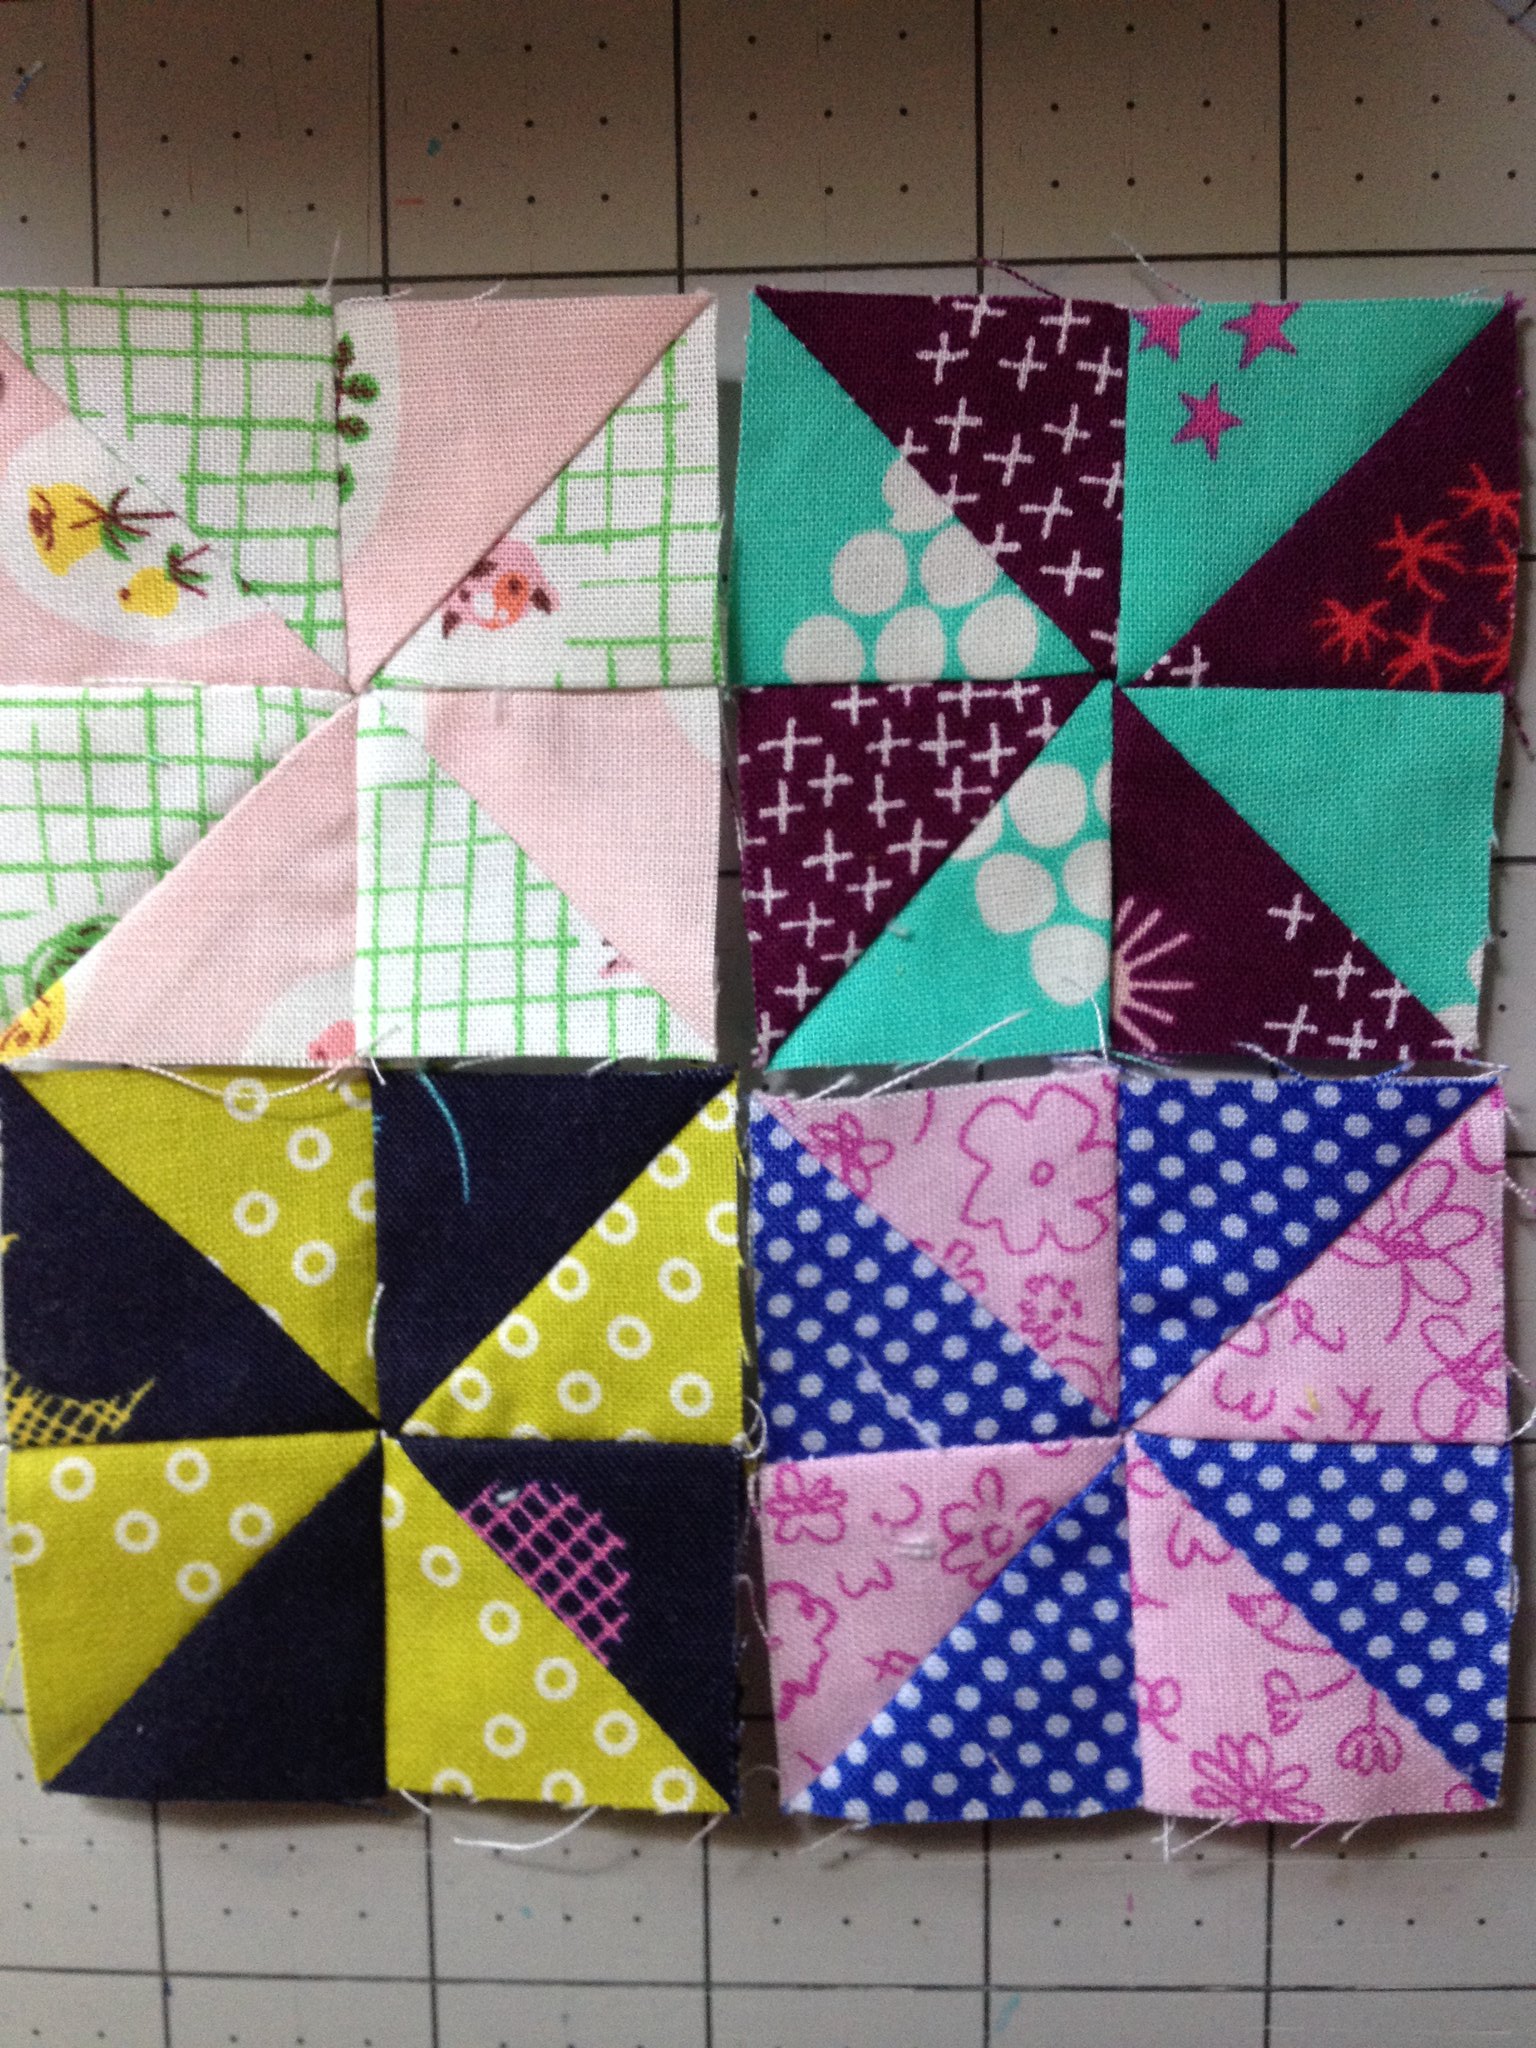
Before you know it, you'll have a pretty little collection of pinwheels.
I hope you enjoyed this little tutorial! If you have any questions, I'll be happy to answer them. Thanks, Courtney


Thanks for mentioning how the bloc loc ruler works -- somehow, I never knew that! I make lots of hsts, so now I want one... :D Your pinwheels look great!
ReplyDeleteGood reading your ppost
ReplyDelete