my small world QAL {section 2}
Woohoo! I'm on a roll - blogging and quilting-along.
I am still so in love with the #mysmallworldqal that it's pretty much all I want to do. You can see my section 1 post here.
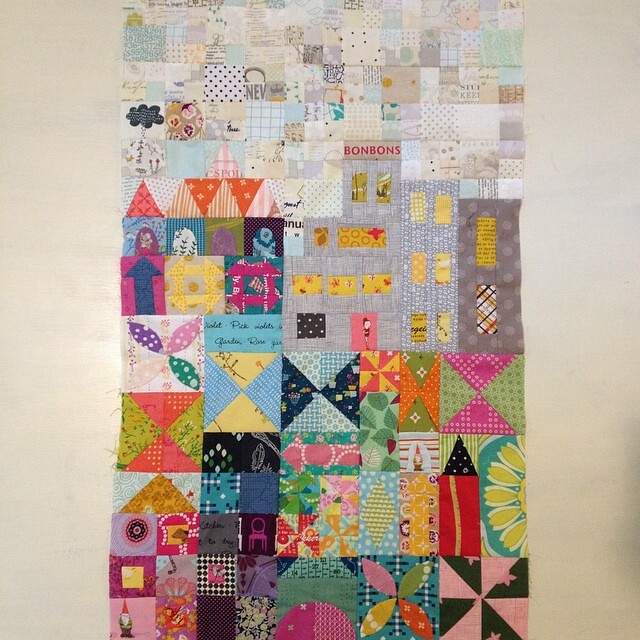
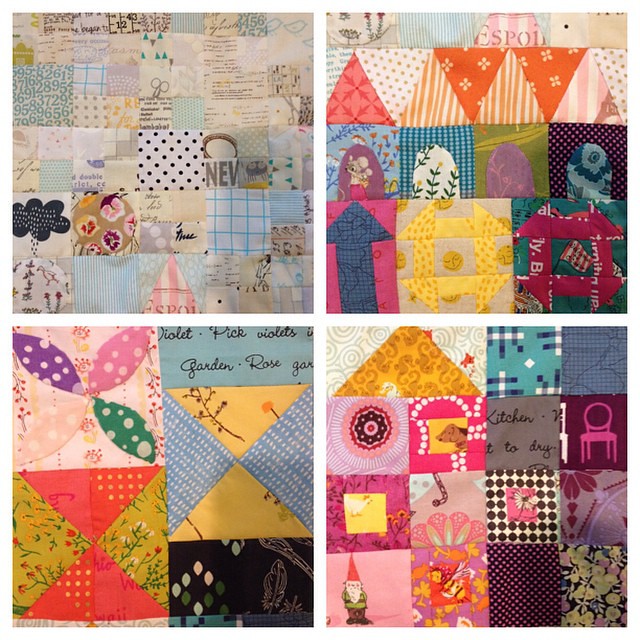
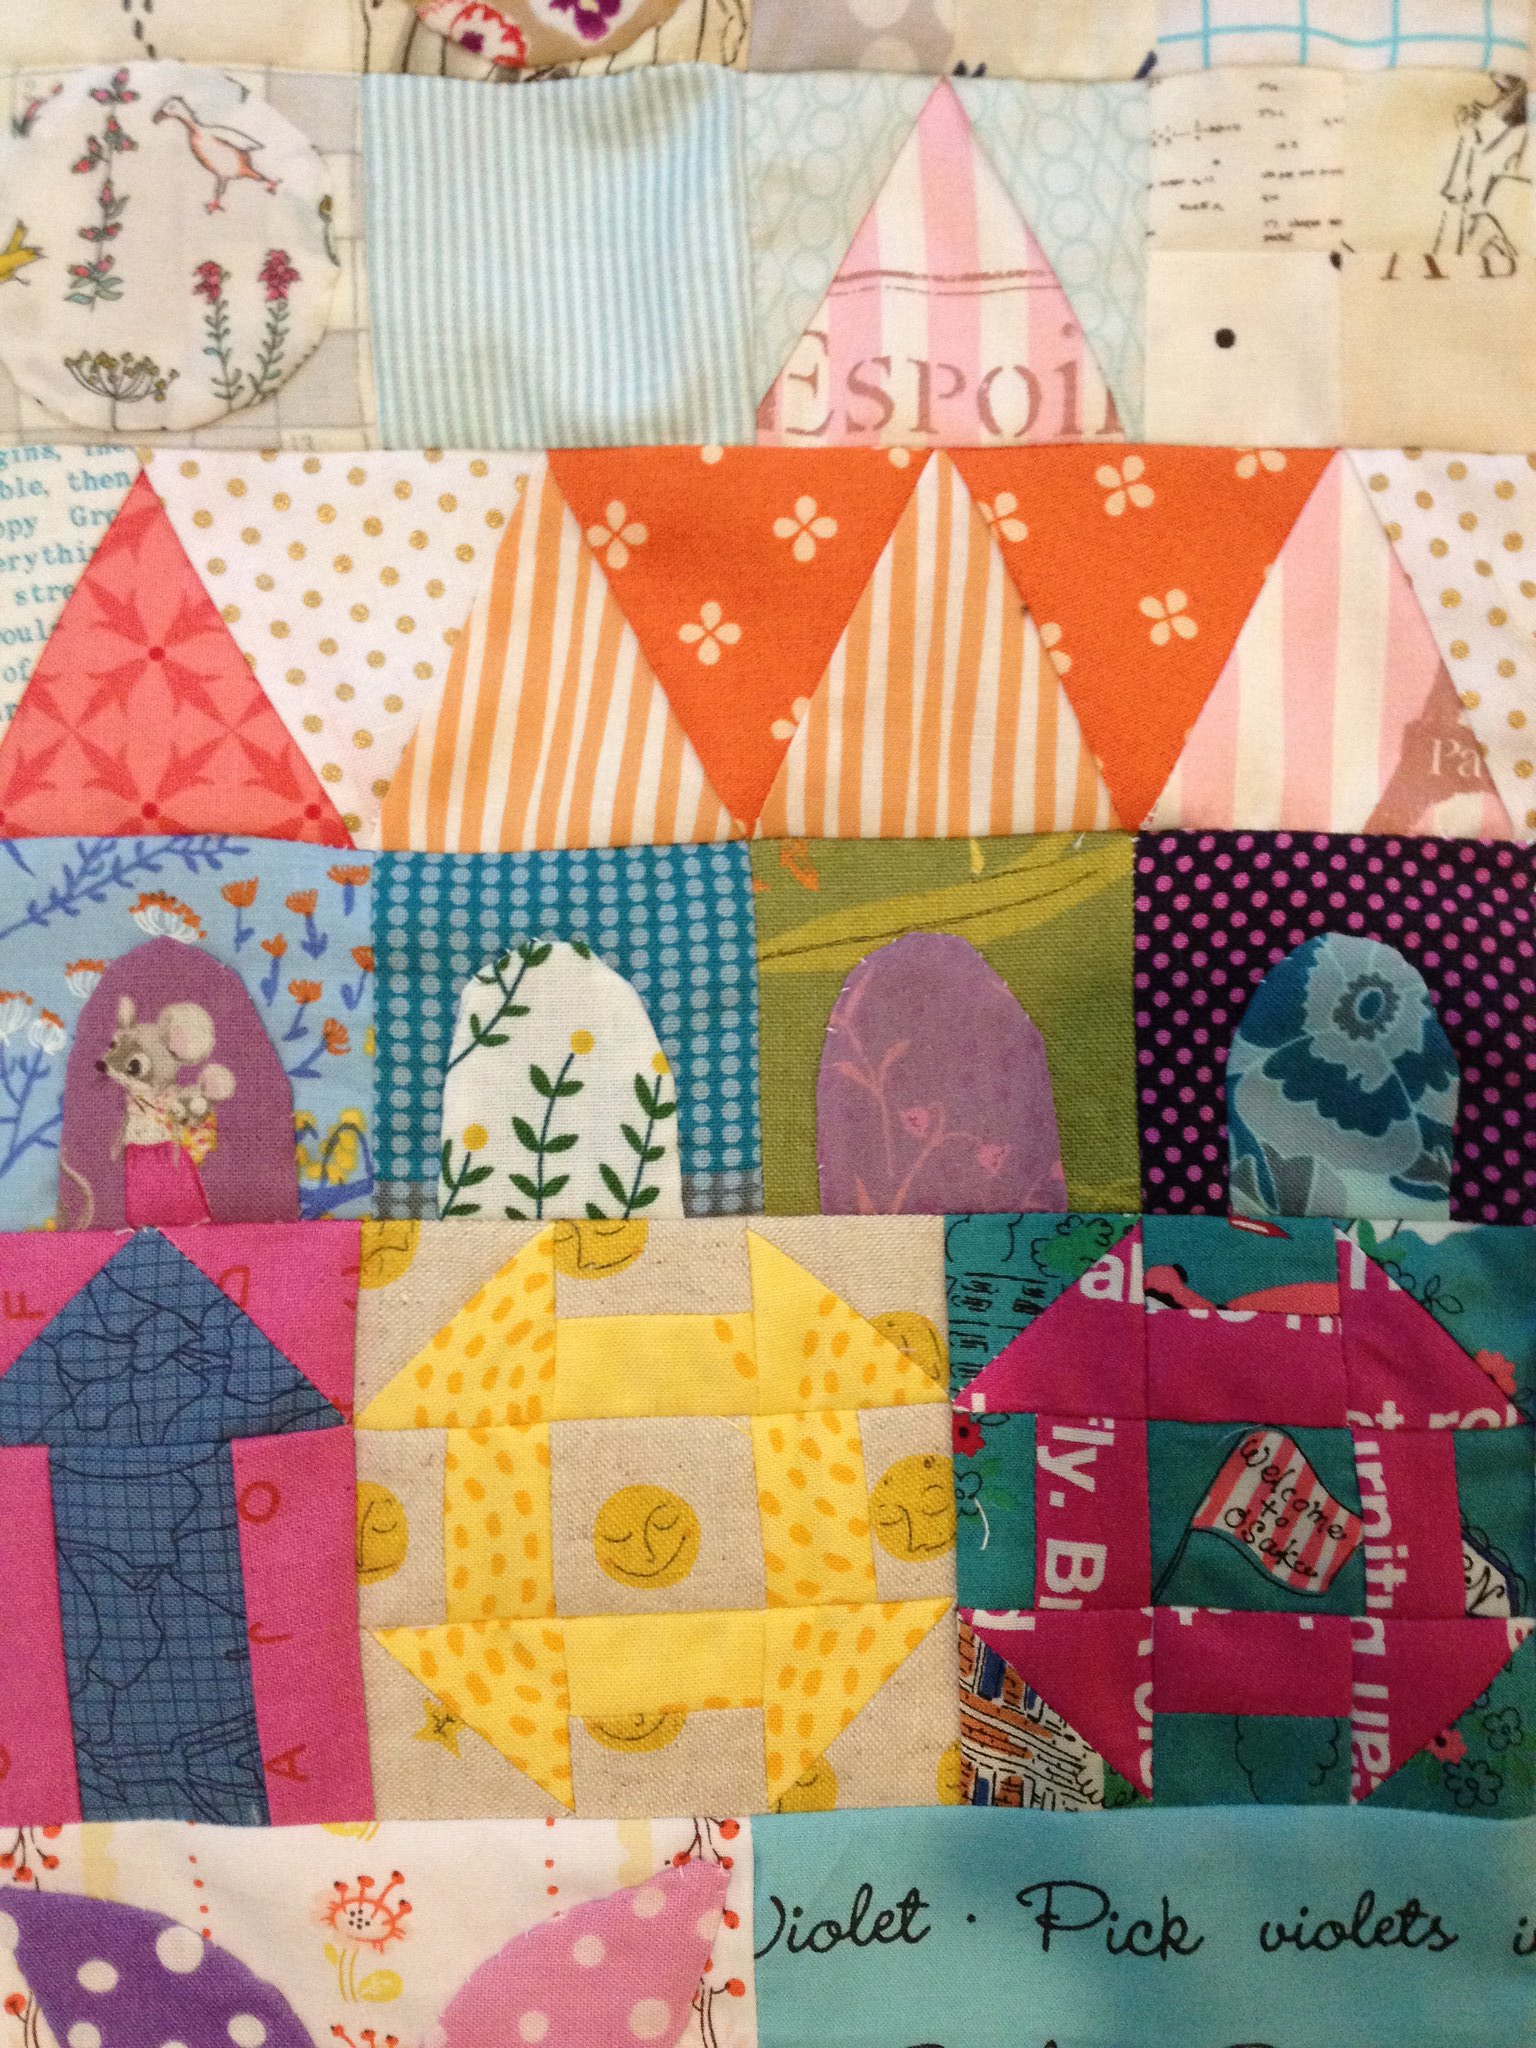
I made a collage of Panel 2 segments, since the long, skinny panel is so hard to photograph in detail.
The big boys finish school a week from today (is it just me or is the whole rest of the country out already?) so we will see how the transition is to summer schedule and what kind of sewing time I'll be able to squeeze in! Hopefully I can get Panel 3 finished next week.
I am still so in love with the #mysmallworldqal that it's pretty much all I want to do. You can see my section 1 post here.
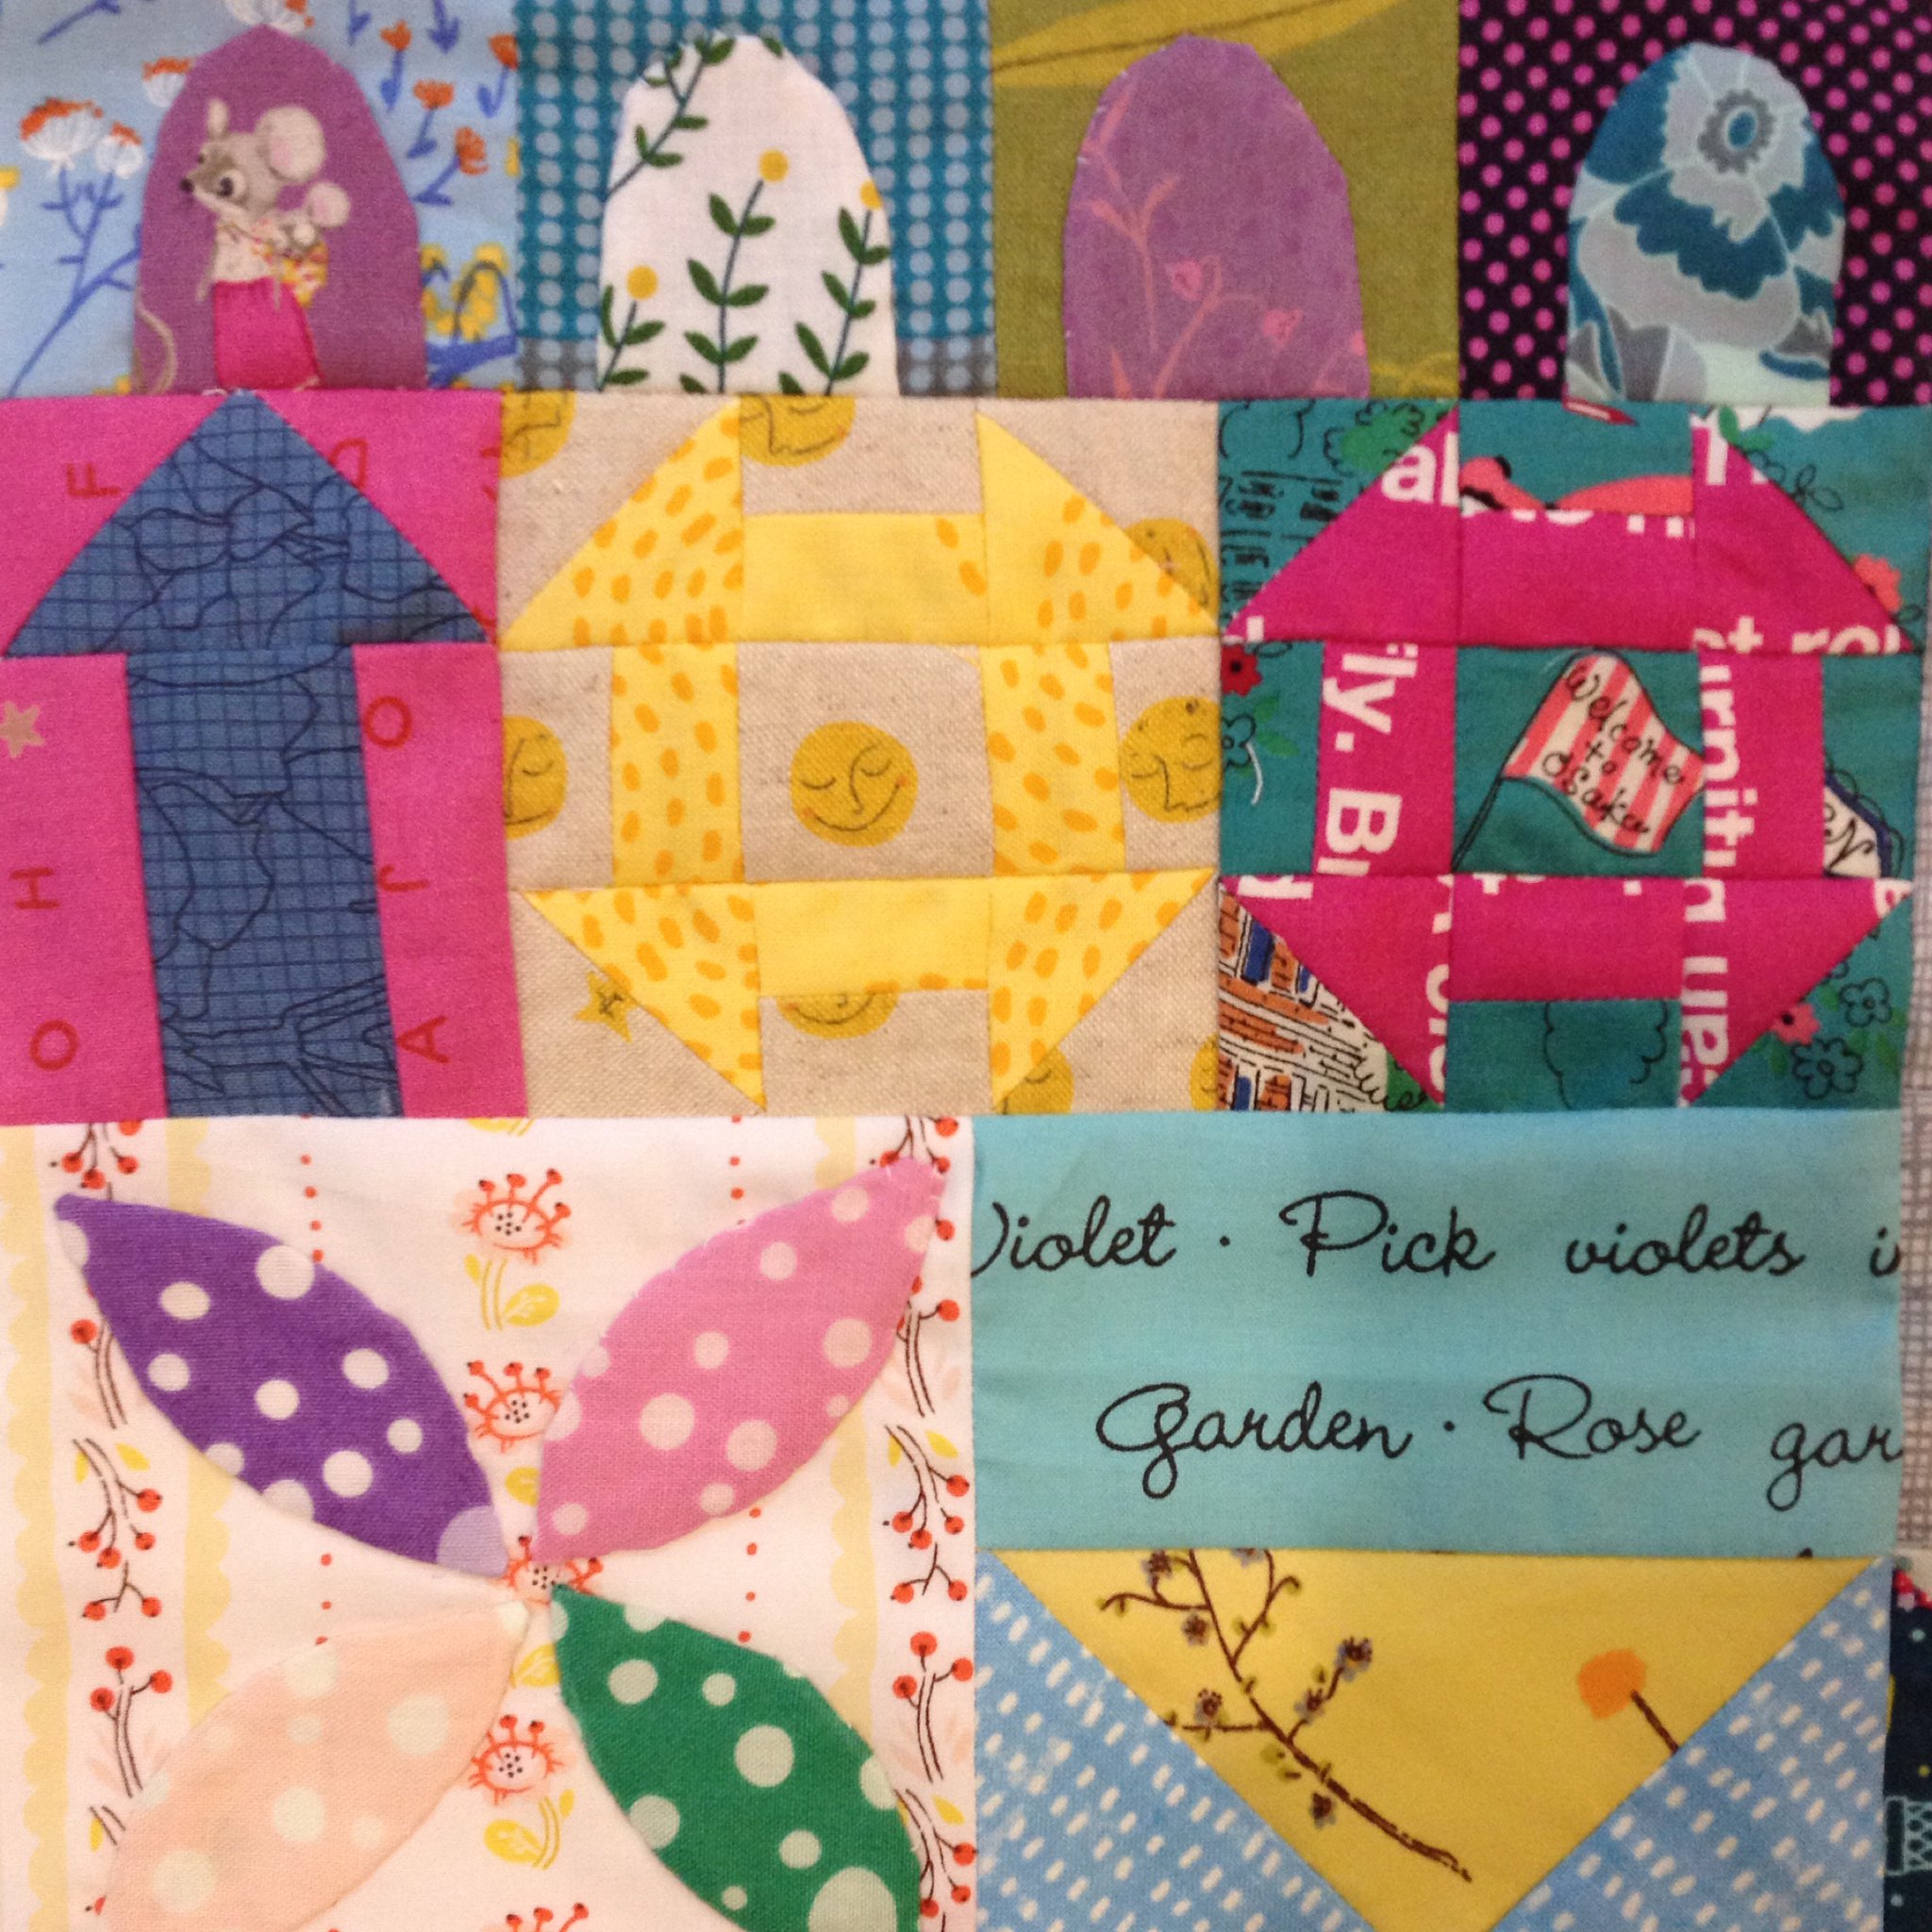
Panel 2 was very similar to Panel 1, still no tricky piecing yet, but lots of applique. I'm really enjoying it and I think I am improving. My second orange peel block is a lot neater than the first.
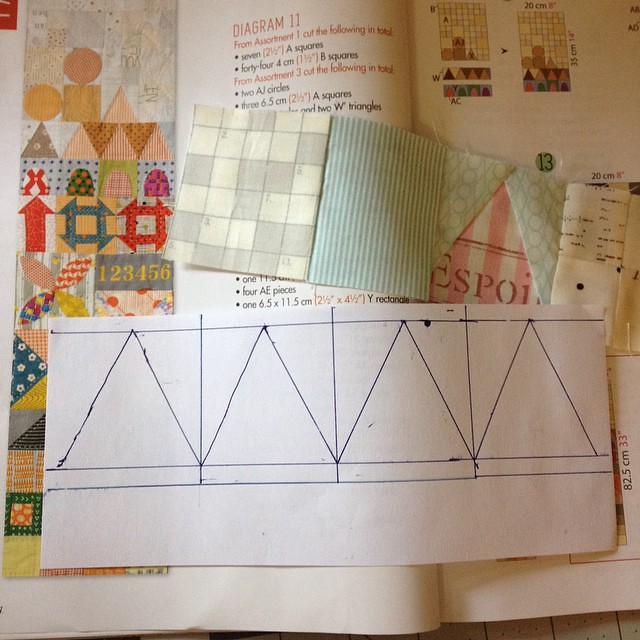
I also wanted to talk a little bit about how I am using the templates. Or rather, not using the templates. When I can I just cut basic rectangles and squares with a rotary cutter and I've been making paper piecing templates for the odd triangles (I'll show you HST methods next).
On this example I measured out my 2" finished squares, added seam allowances to the first and last squares and made the triangles with a ruler going from the center of the squares out to the bottom edges. You can see below that I did not sew two pieces in the upper triangles, those lines were there only to help draw the triangles.
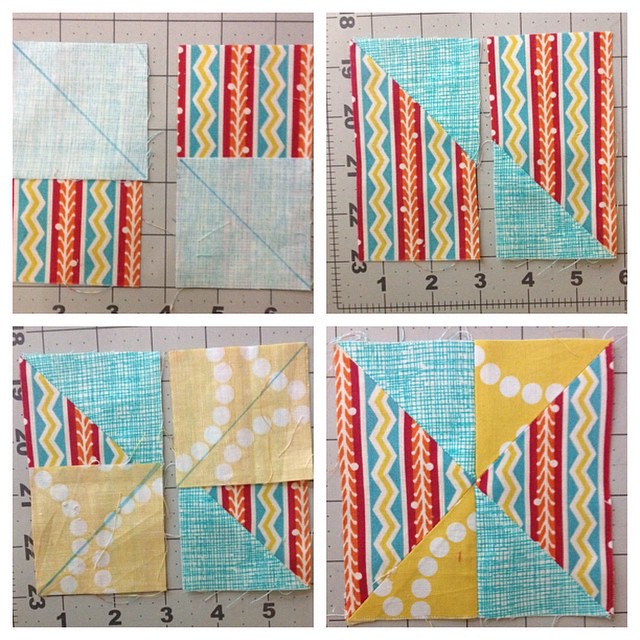
For the HST (half square triangle) shapes I have just been using the stitch and flip method by marking sqaures on the diagonal, sewing and trimming the seam allowance. This photo shows a step by step using two 2.5 x 4.5" base rectangles and four 2.5" squares. I am particularly fond of this style block. Just a little more interesting than an hourglass.
If you're quilting along, I hope these tips may help you, or might help in a future project. This design looks so daunting when you see the entire quilt, but the way it is broken down into panels makes it seem so doable!
 |
| photo courtesy of http://verykerryberry.blogspot.co.uk/ |

Thanks for the tips😊
ReplyDeleteI made some paper pieces as well, but really like your hst method, I'm going to give that a whirl when I get back home. Thanks for sharing!
ReplyDelete